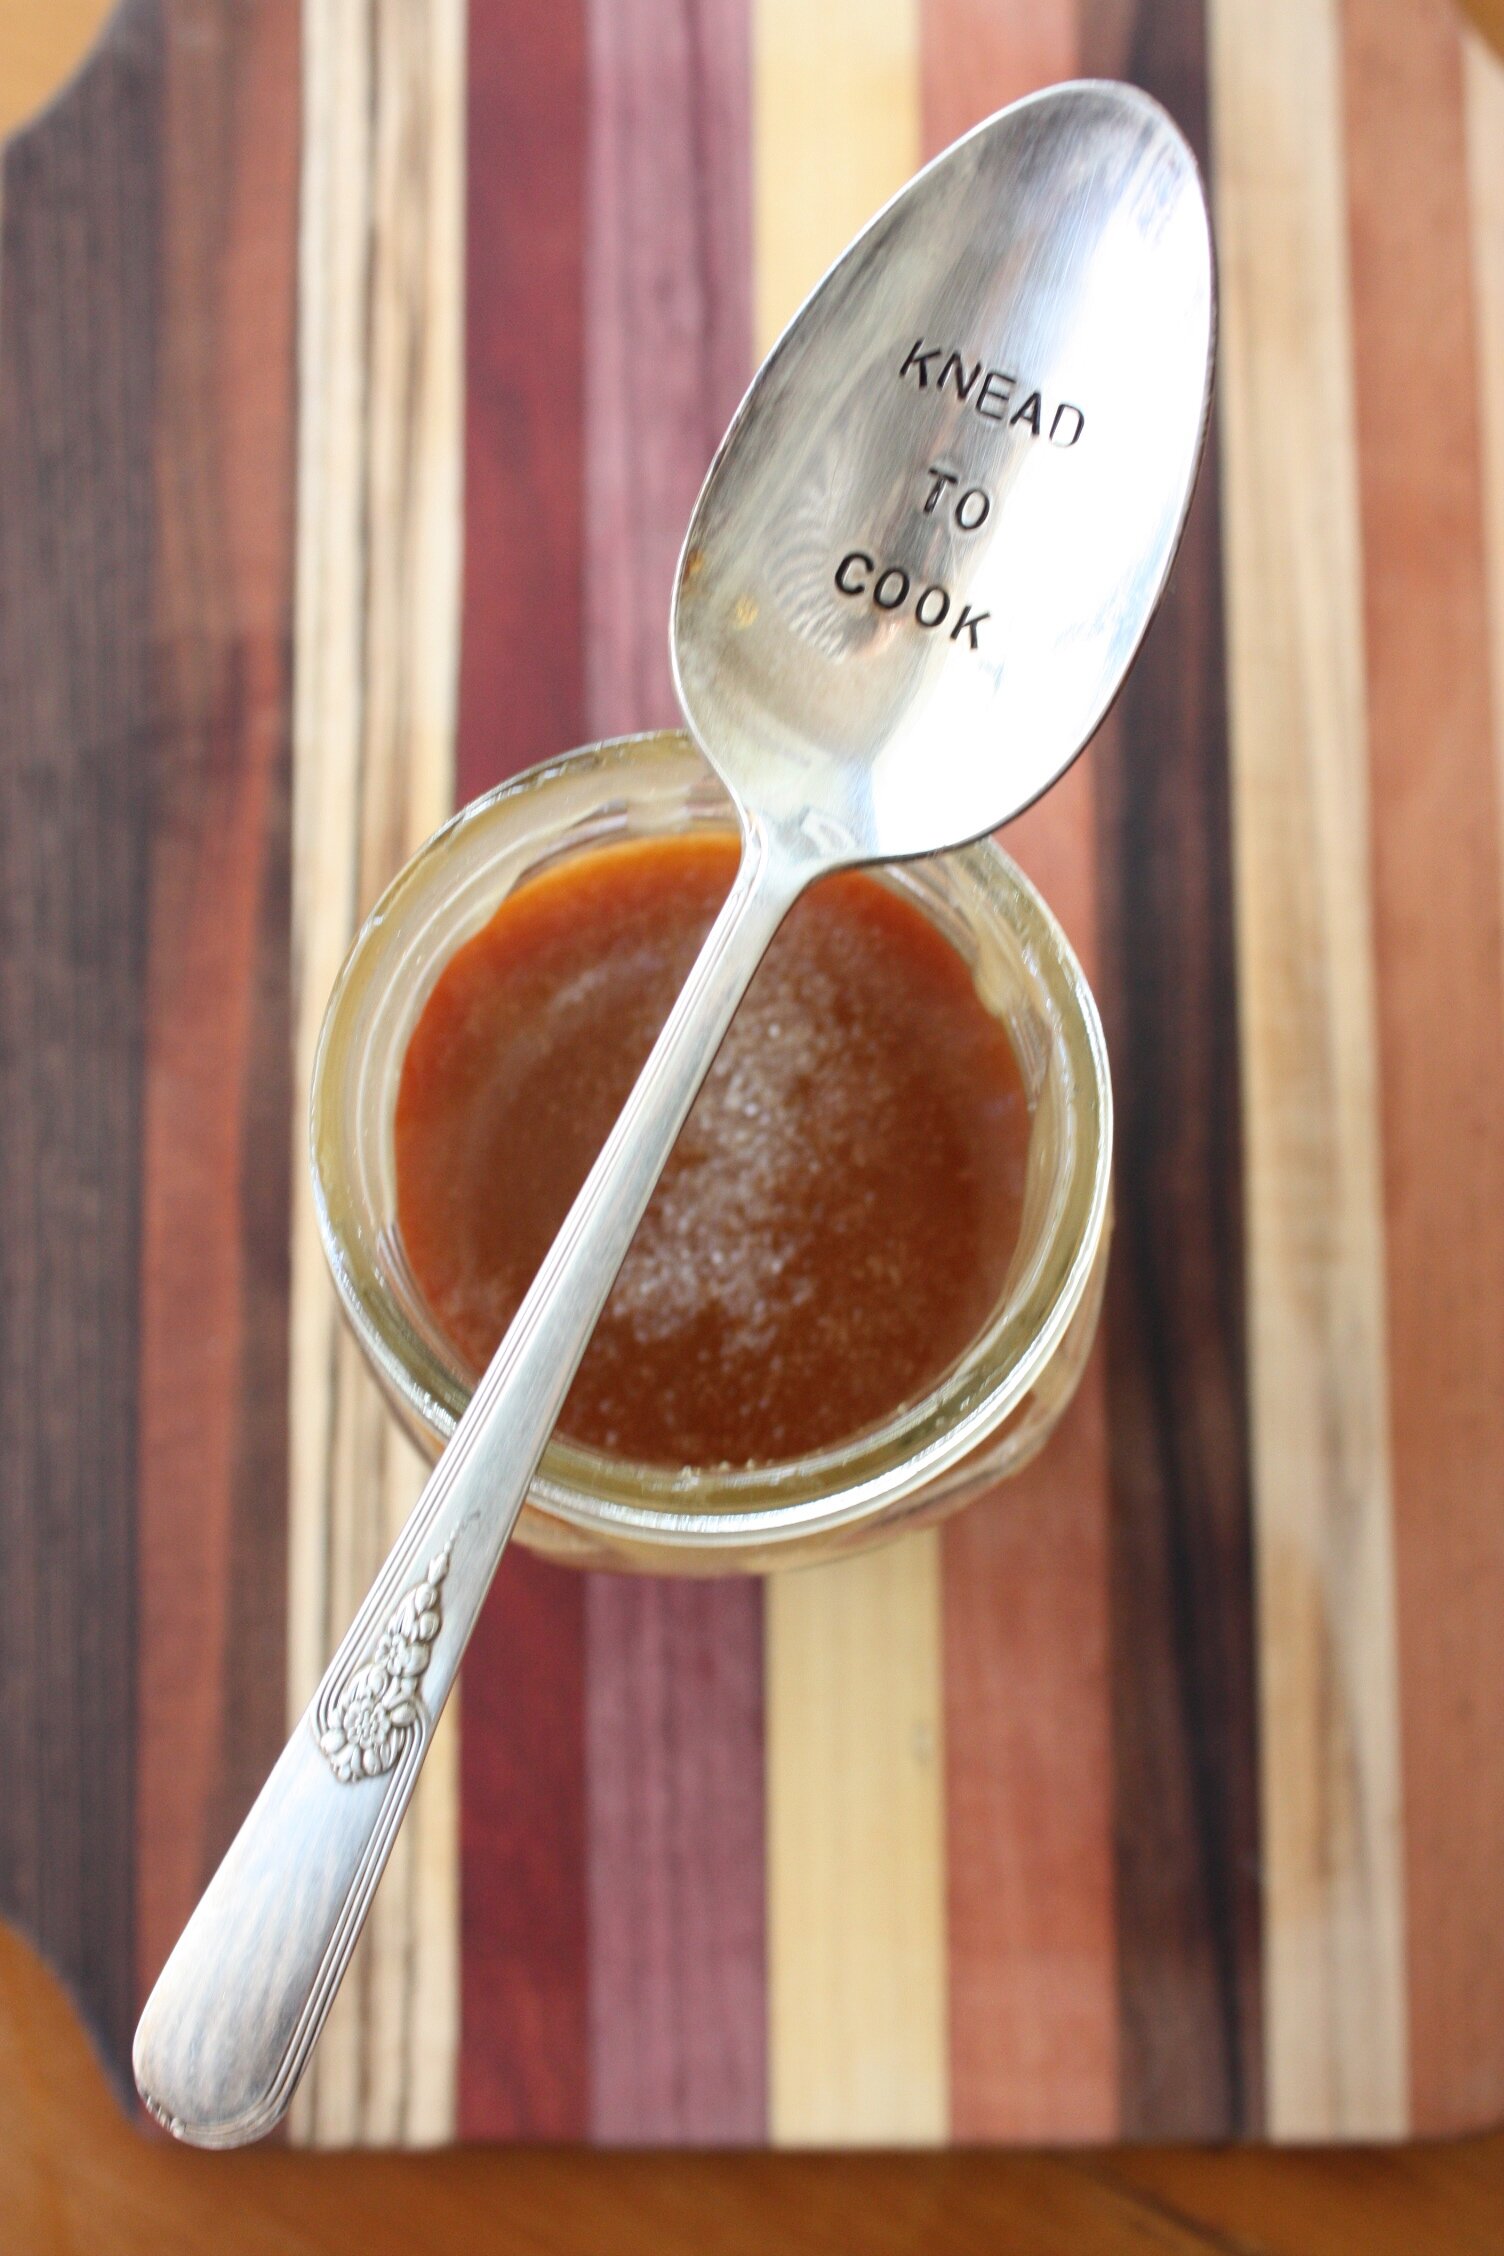
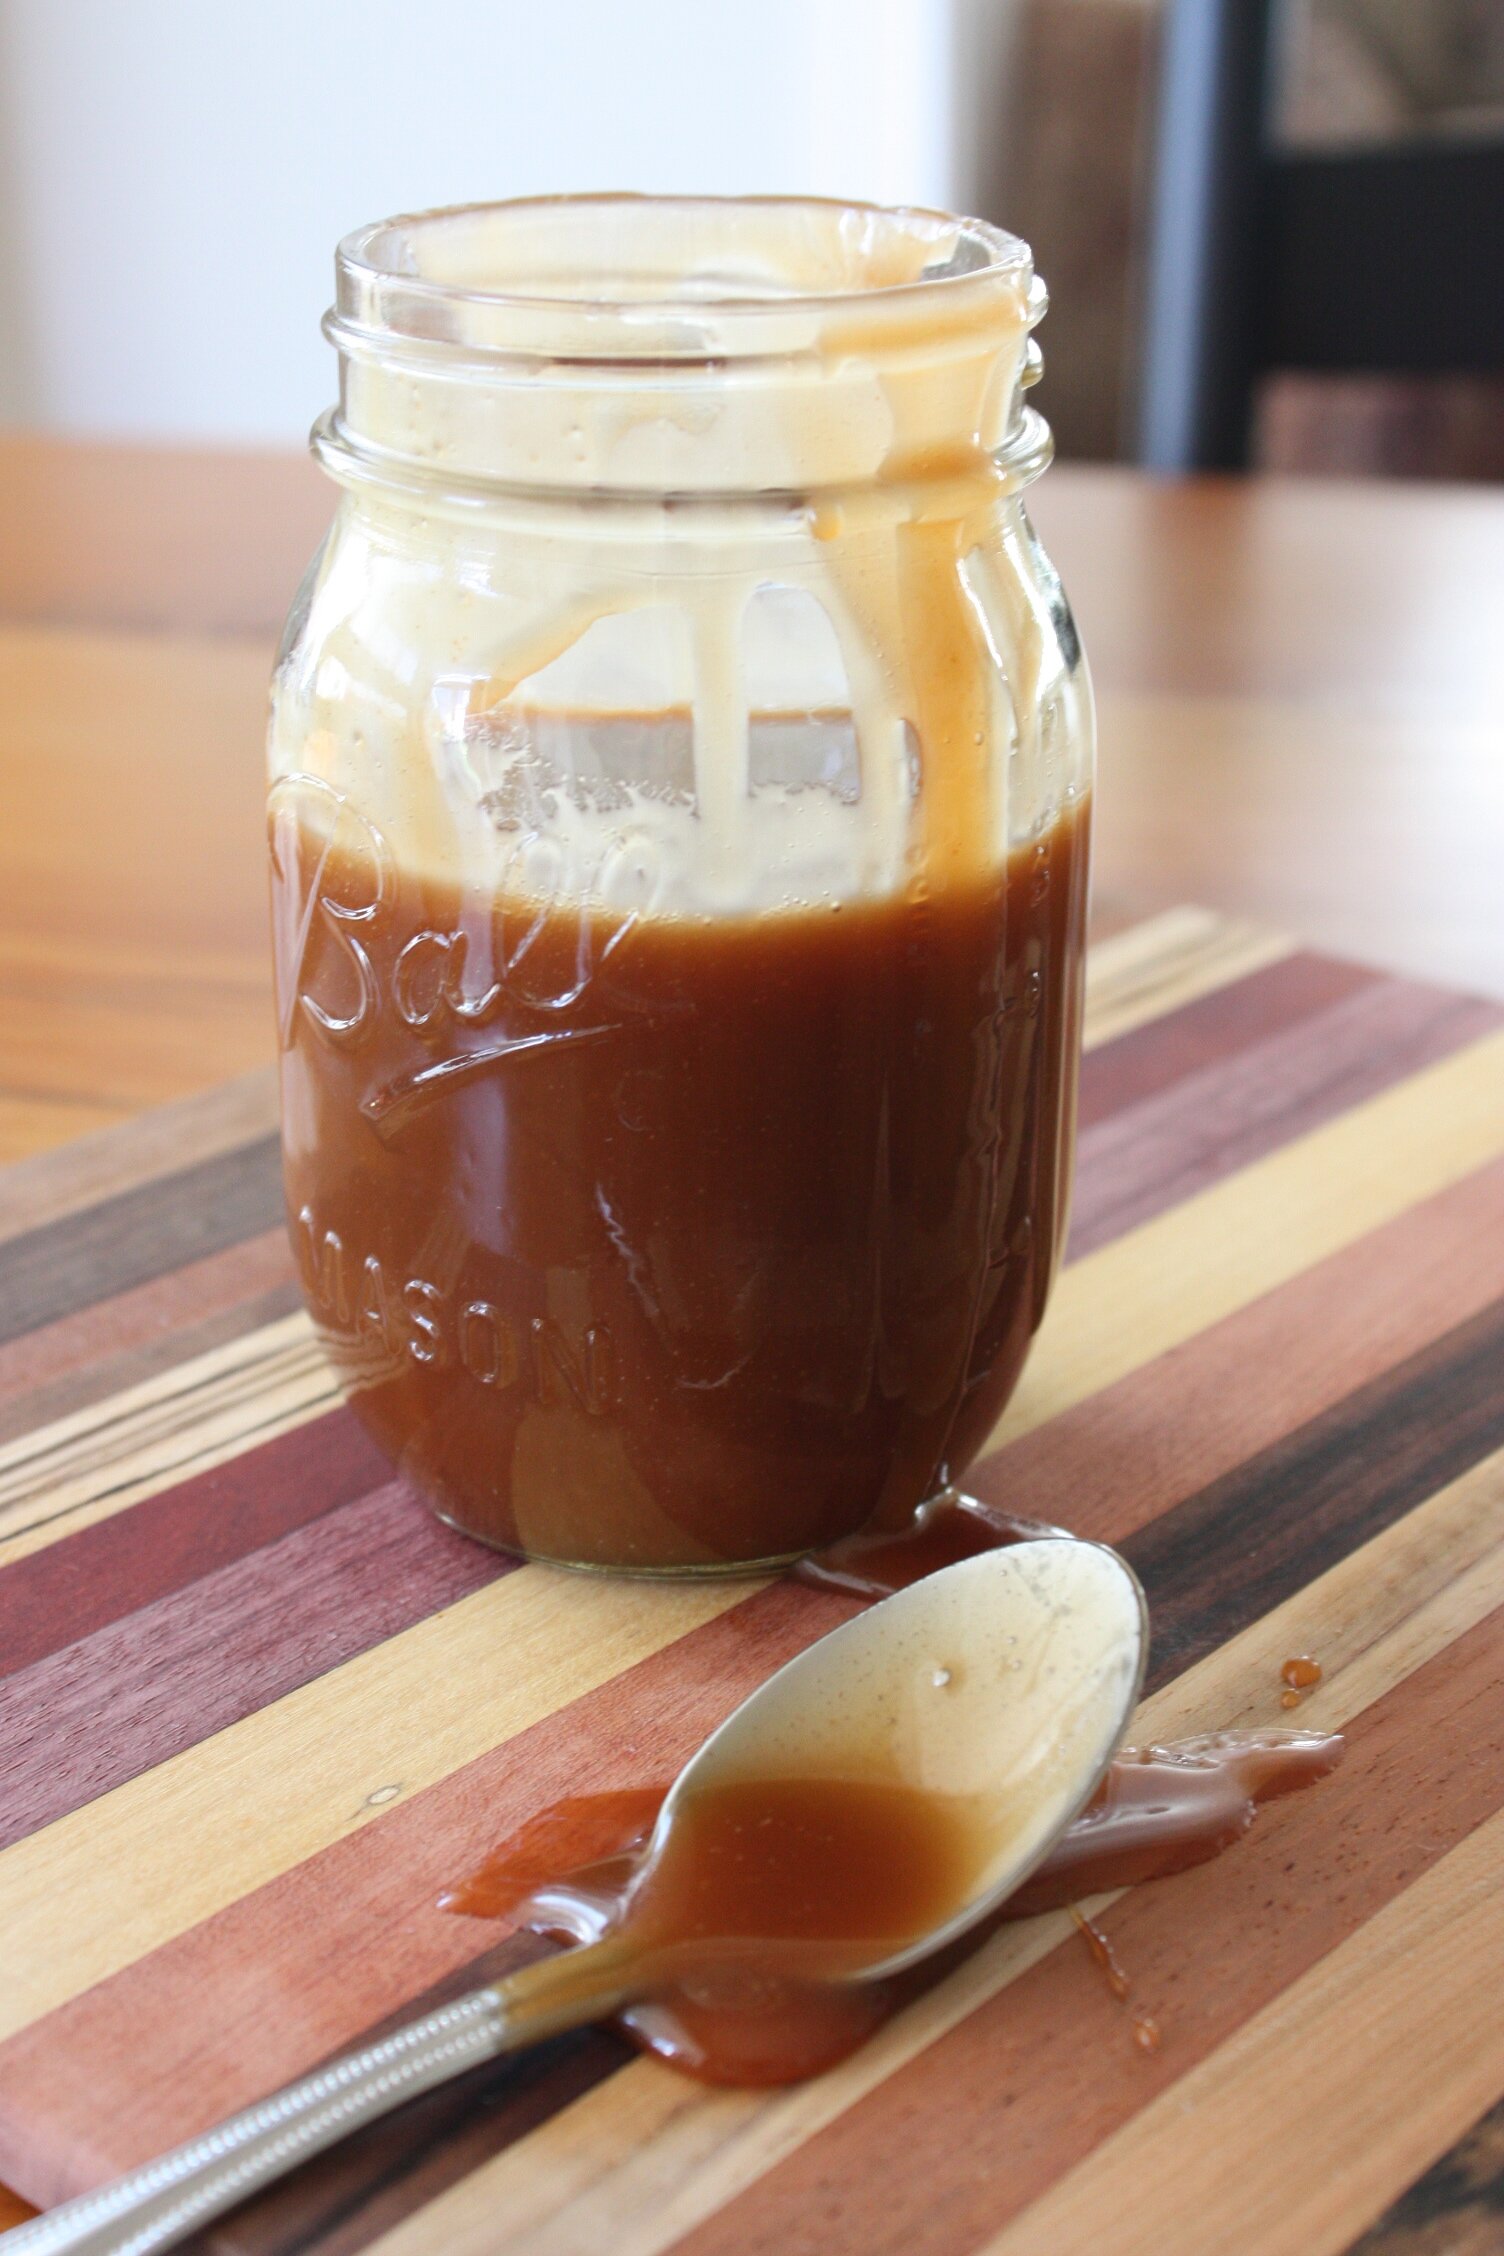
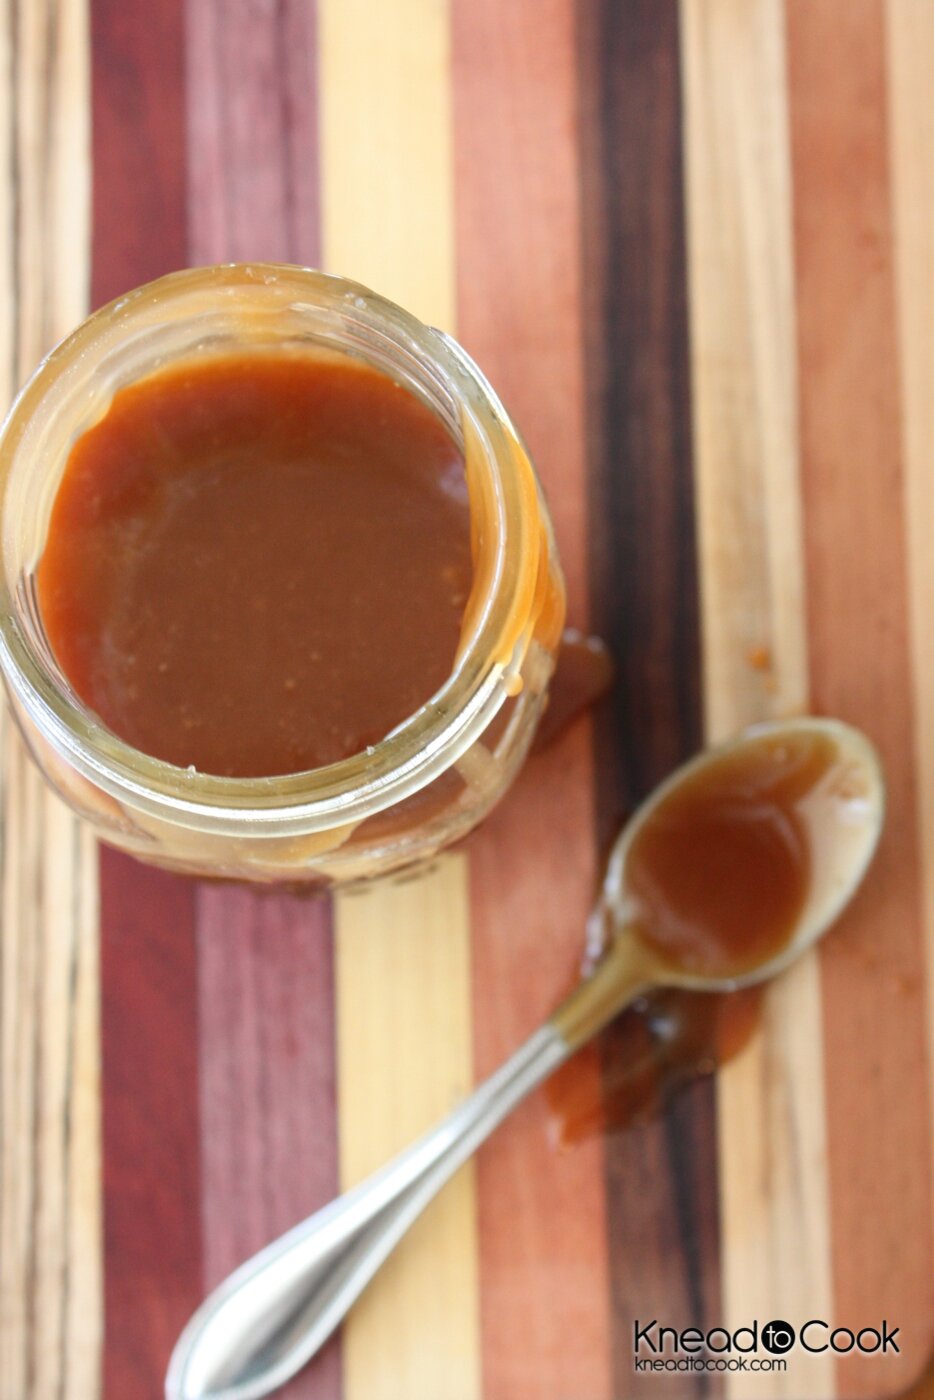
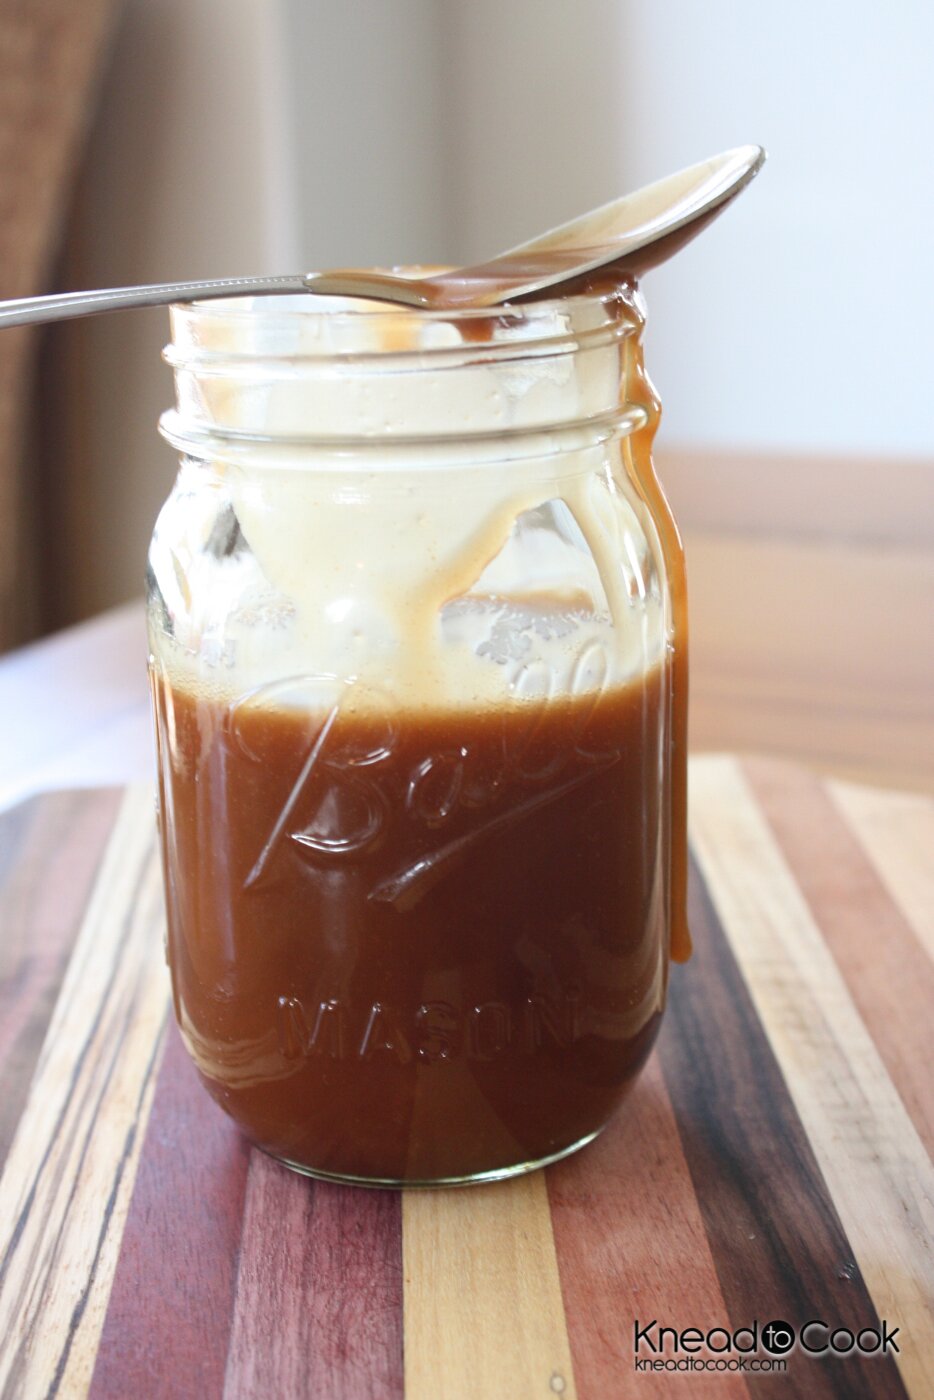
Okay I don’t know about you, but one of my hand’s down weaknesses… sea salt caramel. I could eat my body weight in it if I had to. In fact when I made this, I knew it was nuclear hot and I still put a spoon in my mouth to try it! Ha ha! Lunatic, yes, I know!
Ingredients:
1 cup of sugar
1/2 cup of water
6 tablespoons of butter
1/2 cup of heavy whipping cream
Sea Salt
Directions:
Okay, first step first. Collect all of your ingredients and place them right next to your stove.
In a heavy stock pot (3 quarts or so), add your water and sugar over a medium-high flame. More so to the higher side of the flame. Whisk until the sugar melts and the mixture starts to boil. This takes a few minutes due to the water having to evaporate. Once it boils, stop whisking and literally stand there and watch it. The sugar mixture will turn amber – once a medium golden amber color, add the butter (it will bubble up so be mindful) and whisk until it melts. Once the butter has melted, remove from the flame. Add the cream and again, be mindful this mixture will foam up again. Whisk until the caramel looks smooth and creamy – 30 seconds or so. Let the sauce settle for 2 minutes. Sprinkle with sea salt and then pour into a glass jar that you can seal with a lid once the mixture has cooled. Avoid dipping a spoon into this molten lava mixture or you may fry your tongue! I speak from which I know. Ha ha.


{ 15 comments… read them below or add one }
I have been thinking about making caramel sauce because I love it. This looks much simpler than I imagined!!
So easy Lesley!!! Just prep everything and have it ready to go. Unbelievably tasty too! Be warned Robin
Robin
Looks wonderful!
How long will it last in the fridge?
Should I give it a water bath?
Charlie
Charlie, Our’s is almost gone so apparently not long. But refrigerated I would give it 2 weeks covered. No water bath. I do remove it and microwave it or let it sit at room temp. before using it for ease. Thanks, Robin
Is the consistency such that I could use on my Caramel Apple Poundcake?
Yes! I just used it on my almond pear tart recipe I just posted. Perfection! I did microwave it to loosen it up and then drizzle it on. Enjoy!
MMMMMMM
I have been making a simple no boiling sugar and water recipe lately from Martha Stewart made with brown sugar….quite tasty, should try to add a little sea salt!
Oh yum. Try this one. Recipe is super easy and oh so fabulous! Robin oxoxo
This looks amazing and so simple!!
..Can I substitute the heavy whipping cream for half and half?
I haven’t tried it so I’m not sure. You and my daughter share the same name
I just made a batch of this to give as teacher gifts and am making another for us at home. SO DELISH! Never thought I could make anything so “fancy!” Thanks for the recipe and the pointers.
YAY Annie!!! I could seriously drink it if I had to! What a great gift idea. Love it. Thanks for sharing! oxoxo
Just wanted to let you know I used your delicious recipe for christmas gifts and shared it on my blog, http://craftycouplescorner.com/2013/12/26/christmas-goodies-and-tales/
Such a wonderful recipe! Golden sweet, buttery & creamy! Thank you, Robin for your down-to-the-point instructions!!
Thanks Cindy! I remember the first time making that and not waiting till it cooled… I lost several skin layers off my tongue but it was so worth it. Ha ha. oxo
{ 5 trackbacks }