Knead to Cook

Food & fitness obsessed girl.

  • Home
  • About me.
  • Recipes
    • Breakfast
    • Brunch
    • Snacks
    • Desserts
    • Vegan
    • Vegetarian
    • Gluten Free
    • Wheat Free
    • Evolution Power Yoga 40 Days
  • In the Media
  • Favorites.
  • Contact.

Archives for April 2013

Oatmeal Fiber Energy Balls.

April 30, 2013 by Knead to Cook Filed Under: Breakfast, Cookies, Gluten Free, No bake/cooking required!, Snacks, Vegetarian 11 Comments

164898_10200585464552087_1478225504_n

I think I could survive on energy balls.  Any recipe… whatever the flavor.  I heart them all.  Hey, we all have our thing, right?  I bought some fiber cereal at the grocery store and thought I would whip up a few recipes using the cereal. The fact is, we all need fiber to keep things moving in the right direction (gross, but true!).  These are super delish and already my kids are downing these little treats fast and furiously.

Ingredients:

1 cup of old fashioned rolled oats (I use gluten free organic)
2/3 cup of toasted coconut flakes
1/2 cup of nut butter (almond, peanut – whatever you have on hand)
1/3 cup of agave, maple syrup or honey
1.5 teaspoon vanilla extract
1 tablespoon of protein powder (I used vanilla Designer Whey)
1/4 cup of fiber cereal
Chocolate chips (I used dark chips) – amount is up to you 1/4 to 1/2 cup

Directions:

Combine all ingredients into your stand mixer or large bowl.  Blend.  Refrigerate for at least 30 minutes to one hour.  Scoop out with a small melon baller.  Store in the fridge or freezer.  Watch the magic – they disappear!

— Knead to Cook

Sydney’s Crepes.

April 29, 2013 by Knead to Cook Filed Under: Breakfast, Desserts, Vegetarian Leave a Comment

IMG_7997

My 14 year old daughter has taken it upon herself to whip up dinner for the family this past Sunday again.  She is embracing her inner-chef.  I love it!  This selection, again inspired by her How to Cook (teenage cookbook), tasted incredible.  Totally customizable – filling each crepe with what each diner prefers. My youngest daughter, Nutella, peanut butter and bananas.  My husband – ham and Brie.  Whatever you wish… perfect for breakfast, lunch, dinner or dessert!

Ingredients:

1 cup plus 2 tablespoons of all-purpose flour (She used King Arthur’s)
1 teaspoon of sugar
1/8th tsp of salt
2 eggs
1 1/4 cup of unsweetened almond milk
2 tablespoons of butter, extra for frying pan (melted)
Filling – whatever you choose

Directions:

Sift the flour into a large mixing bowl and then add the sugar and salt.  Set that aside.  In a large measuring cup or small bowl, whisk the eggs and milk together.  Making a well into the center of the dry flour mixture, slowly pour the egg mixture in and whisk until smooth.  Then stir in 2 tablespoons of melted butter.

In a non-stick sauté pan over medium heat, add a touch of melted butter.  Ladle some batter into the pan and spread the batter over the bottom of the pan (swirling it).

IMG_7973


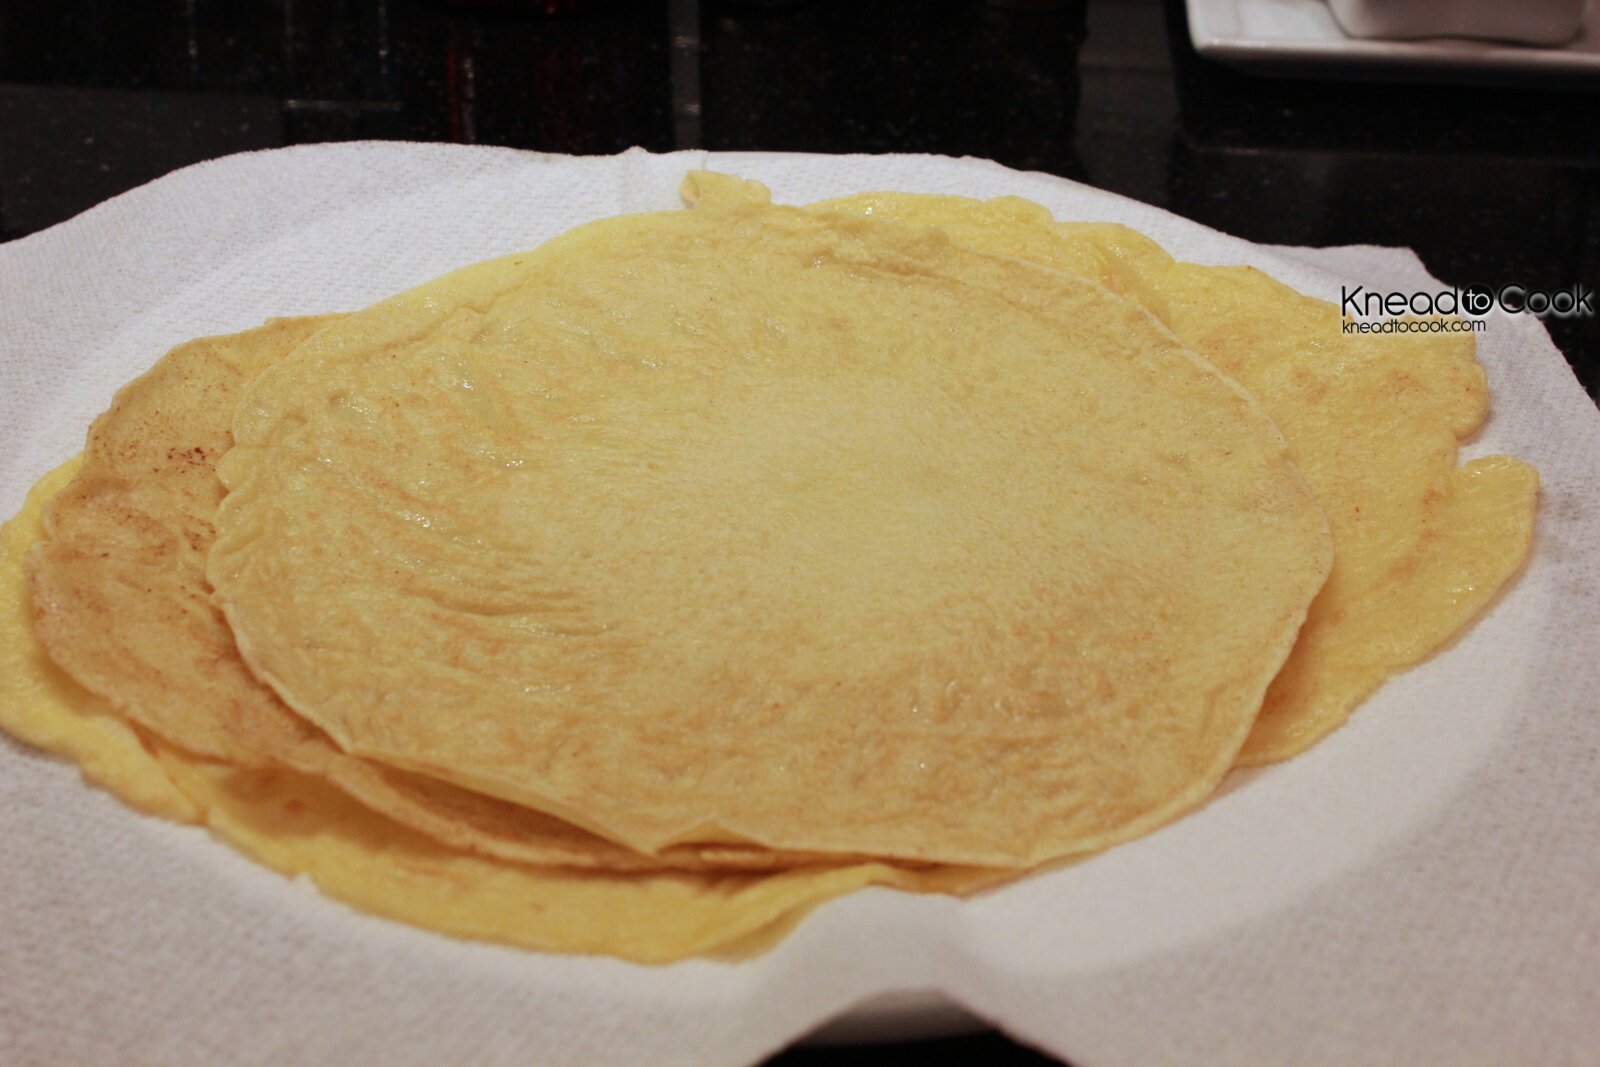
Cook for 2 minutes or until golden.  Flip with a large spatula.  Cook for another 20-30 seconds.  Then set aside on a plate.  Repeat.

IMG_7967

When ready to fill, lay the crepe out flat and place your ingredients into the center and roll up both sides.  Grill again in the pan for a minute or so or until ingredients start to melt.  If sweet, top with confectioners’ sugar.

Yields:  8 crepes


— Knead to Cook

Healthy double peanut butter cookies.

April 25, 2013 by Knead to Cook Filed Under: Pasta Leave a Comment

935356_10200560313403324_954025752_n

Say WHAT?  Yes, peanut butter is definitely a staple in my daily menu.  I love it.  Actually, more almond butter than peanut but any nut butter I totally heart and I won’t discriminate!  A friend shared this recipe with me about two years ago, well the original recipe, and I’ve morphed it to my taste and preference.  The cookie is light and more delicate versus the unhealthier original pb cookie you’re probably used to.  But this one is totally kid & adult approved!

Ingredients:

1/2 cup of peanut butter (creamy)
1/2 cup of coconut oil (solidified not melted)
1/4 cup of honey (I used raw)
1 large egg
1 teaspoon vanilla extract
1 cup of whole wheat flour (King Arthur brand is my preference)
2 tablespoons of oat bran
2 tablespoons of ground flax seed
1 tablespoon of powdered peanut butter (you can find this at the grocery store near the regular pb if you can’t locate it – you can use pb chips)  OPTIONAL
1/2 teaspoon of salt (sea salt)
1/2 teaspoon baking powder
1/2 teaspoon baking soda

Directions:

Preheat your oven to 350 degrees and line your baking sheets with a Silpat or parchment paper.  Set aside.  In your stand mixer, blend the peanut butter, coconut oil, honey, egg and vanilla together.  Then in a separate bowl, blend the flour, bran, flax, powdered pb, salt, baking powder and soda.  Then add to the wet mixture.  Blend.  The dough is oily due to the coconut oil and this is fine.  Scoop out small balls of dough and drop onto your cookie sheet.  Flatten with a fork (traditional cookie pattern) or with the back of a spoon or whatever you like.  Bake for 12 minutes or until golden around the edges.  Let cool for 2-4 minutes on the baking sheet then transfer to a rack to cool completely.  Enjoy!

— Knead to Cook

Roasted Red Pepper & Garlic Hummus.

April 25, 2013 by Knead to Cook Filed Under: Condiments, Dips, Gluten Free, Party Foods, Side dish, Snacks, Vegetarian, Wheat Free Leave a Comment

IMG_7644

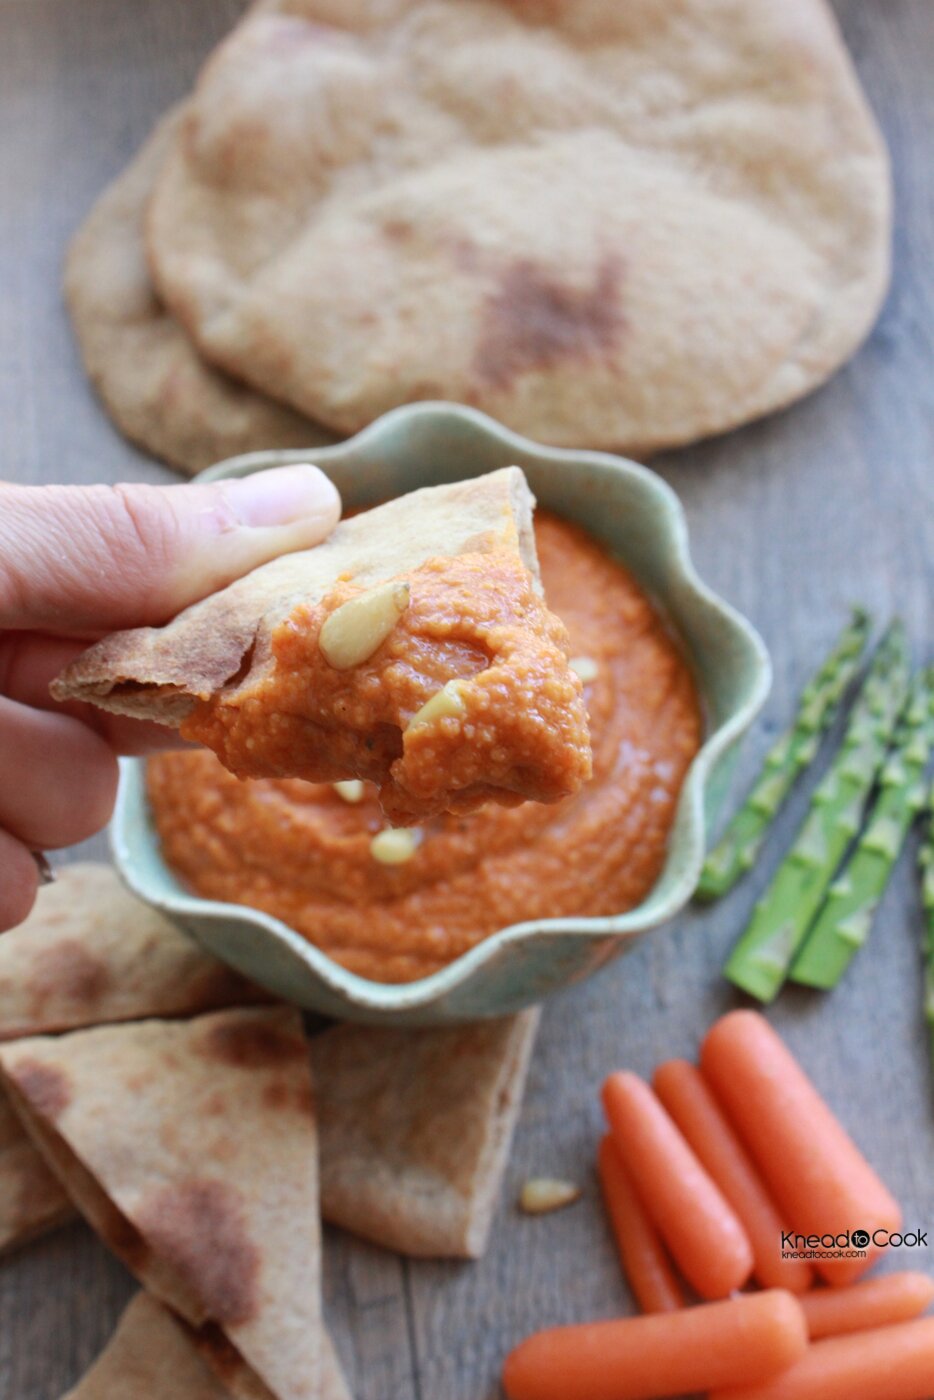
This week I took a foray into baking up pitas.  I have to admit, I knew hummus would come along shortly after.  I mean seriously, how can you eat pitas without it?!  Ha ha.  Well my family gobbled up the first batch of pitas so I’m whipping up another batch.  Click here for that recipe.  Hummus is very easy to make and tastes so much better than store-bought versions.  Plus with this, you control the olive oil (even though it’s a healthy fat I still like to limit the quantity in the food I eat) and I have a little trick on exactly how to do that.

Ingredients:

2 cans of low sodium chick peas (both drained and rinsed)
2 red bell peppers (jarred in water) – reserve the water
4 cloves of garlic (use less if you aren’t a fan)
1 teaspoon of ground cumin
1 teaspoon of chipotle chili powder (or regular chili powder if you have that on hand)
Salt
Pepper
Lemon juice – from half of a lemon
1 tablespoon of olive oil

Directions:

Into your food processor, add the chickpeas, garlic, two roasted red peppers, cumin, chili, salt, pepper and lemon juice.  Puree into well-incorporated.  While the machine is running add the tablespoon of olive oil.  If you need it creamier, most likely you will, add a tiny bit (1/2 teaspoon at a time) of the reserved liquid from the roasted red peppers.  This will not only infuse the hummus with more of the red pepper flavor, it will keep the calories down because you aren’t using more olive oil.  Puree until smooth or desired texture is achieved.  Cover and refrigerate until serving.  Serve with chopped veggies, pita slices etc.  Also works well on a sandwich instead of mayo or mustard.

IMG_7687


— Knead to Cook

Whole Wheat Homemade Pitas.

April 24, 2013 by Knead to Cook Filed Under: Appetizers, Breads, Vegetarian 3 Comments

IMG_7569

374696_10200560292162793_545705296_n

Last night my youngest christened her newly renovated bedroom with a sleepover (long awaiting this daywith her newly renovated room).  She has two days off from school so why not invite a bestie over and we’ll have a fun dinner and hangout.  I wanted to make homemade pitas to stuff with turkey meatballs tonight, roasted purple potatoes with an avocado Chobani sauce for topping. This recipe is super easy and fairly full-proof.

These can be used for dipping into hummus or slice in half for sandwiches or dinner.  And they are way cheaper than store-bought plus you know what is in them… benefit!

Ingredients:

3 cups of whole wheat flour (I used King Arthur Whole Wheat)
1.5 teaspoon of yeast
1 teaspoon sea salt
2 tablespoons of honey (I used raw)
1 tablespoon + 1 teaspoon of olive oil
1 cup + 4 teaspoons of warm water (separated)

Directions:

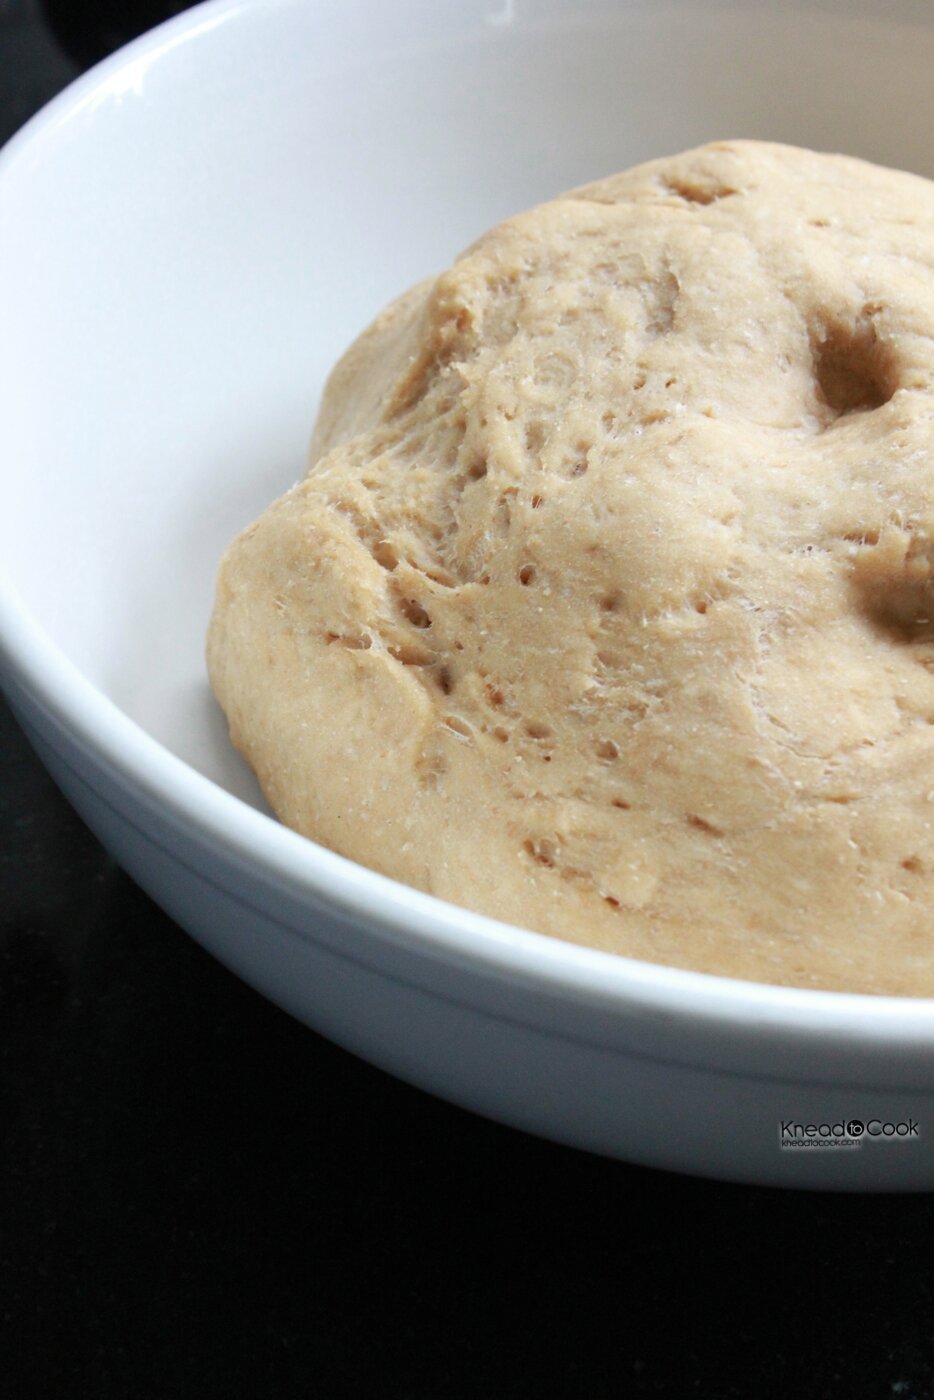
In your stand mixer with the hook attachment, blend the flour, yeast and salt.  Then add the honey, olive oil and one cup of the warm water.  Blend.  If the dough is too dry, add one teaspoon at a time additional water until the dough comes together and attaches to the dough hook.  Knead by hand or in the mixer for 6 minutes.  Remove dough and spray the bowl with olive oil or baking spray.  Add the dough back and cover with plastic wrap.

IMG_7531

Now I have a double oven and always turn the lower oven on 375 degrees and place the dough in the upper oven.  It creates a very low heat that helps the dough to rise.  If you can’t do that, place it in a warm area.  Let rise for one hour.  The dough is tougher than let’s say a pizza dough but it is as you would expect it to be for a pita, if that makes sense.

Preheat your oven to 500 degrees with your pizza stone inside.  Remove and divide the dough into 8 portions. Roll out to 6-8 inch round.  Bake for 5 minutes.  Remove and slice in half once cooled.  Store in a tightly covered container.

IMG_7548

IMG_7687

— Knead to Cook

Orange balsamic glazed chicken thighs.

April 23, 2013 by Knead to Cook Filed Under: Chicken 6 Comments

IMG_7487 IMG_7514


This recipe is so easy and perfect for a weeknight dinner when time is short and hunger is through the roof!  I used thighs you can certainly use breasts if you have those on hand.  Most of these items you will have readily available in your kitchen.

Ingredients:

10-12 chicken thighs or a breast per person
3 tablespoons of olive oil
1/2 teaspoon of salt
Cracked black pepper
1/2 cup of honey (I use raw organic)
1/4 cup of orange juice
Zest from one orange
3 tablespoons of balsamic vinegar (better quality)
2 tablespoons of fresh sage or 2 teaspoons of dried

Directions:

Place the rack so it’s about 6-8 inches away from the broiler and preheat the oven with the broiler on low (if you have a dual setting) if not, just broil.  Brush or spray (if you have an oil atomizer) each piece of chicken and season with salt and pepper.  Lay on your broiler pan.  Place in the oven for 10-12 minutes (keeping a watchful eye on it the last few minutes) until golden.  Then flip each piece over, brush with oil and season again.  Back in the oven for another 10-15 minutes.

While the chicken is broiling, in a large measuring cup or small bowl, blend the honey, juice, zest, vinegar and sage.  Whisk until well combined.  Set aside.

Remove the chicken and pierce to ensure that the chicken is fully cooked and that juices run clear (no pink meat).  Then brush or spoon the glaze over top of each one.  Broil for 3 or so minutes and flip.  Repeat.  Coat well with the glaze.  Broil for another 3-4 minutes.  Remove and cover with foil for 10 minutes.  Serve and enjoy.   I served this along with grilled pineapple.

— Knead to Cook

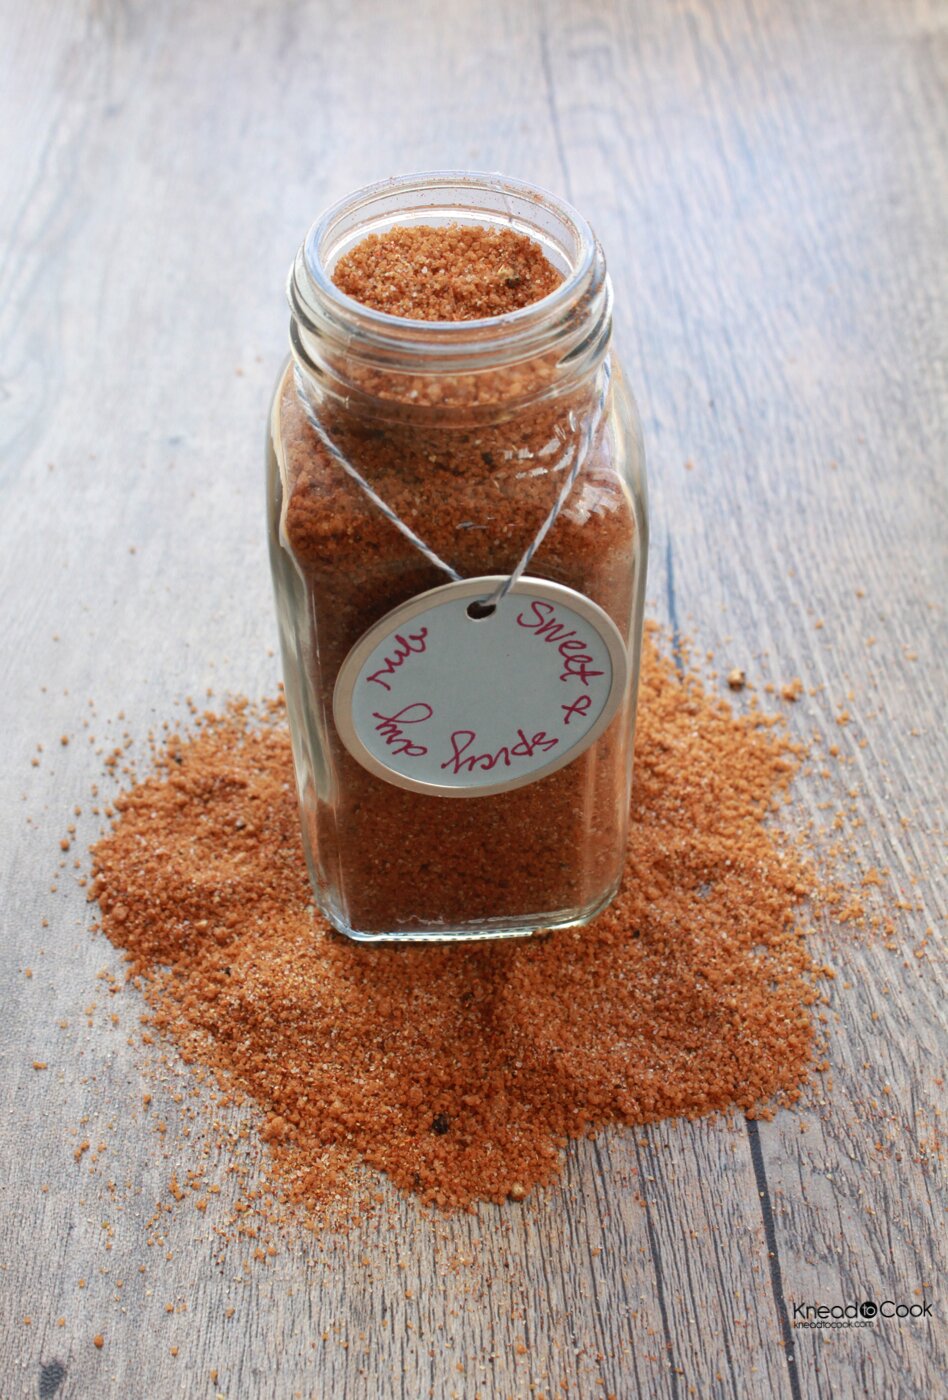
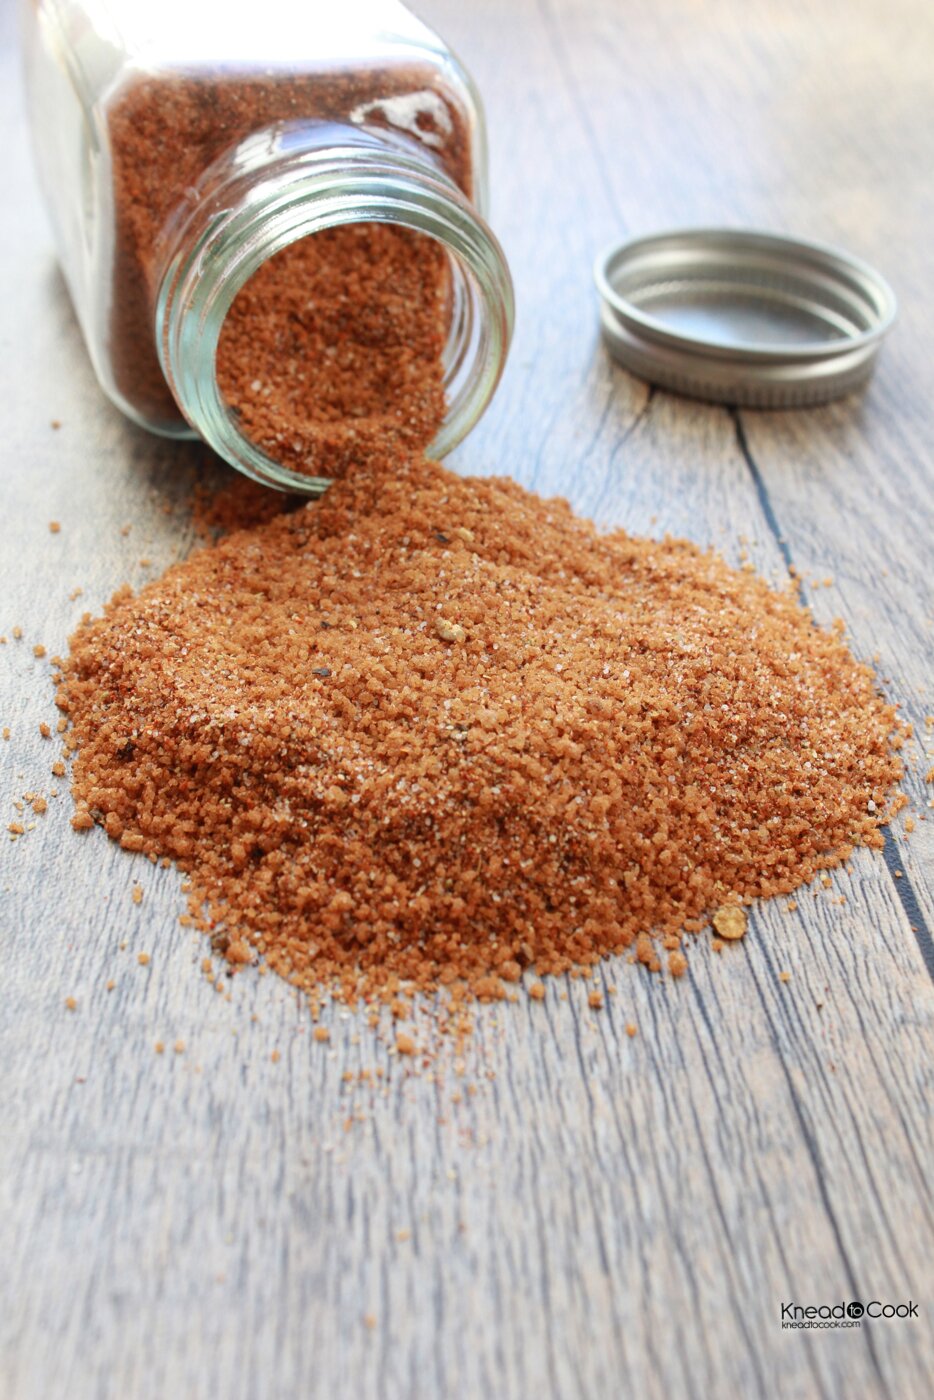
Sweet, Spicy and Smoky Dry Rub.

April 22, 2013 by Knead to Cook Filed Under: 4th of July/Patriotic, Beef, Chicken, Gluten Free, Grilling/Rubs/Sauces, Pork, Vitamix, Wheat Free 21 Comments


IMG_7379 IMG_7455 IMG_7405 IMG_7340 IMG_7345

As the the warmer weather of spring arrives across the country, grills will be fired up and beef, chicken and pork will be seared to perfection.  I will not lie, I love spring – not too hot, not to cold and everyone is finally outside enjoying the sunshine on their face.  Our grill has been fired up several times in the past few weeks, moving our kitchen outdoors and I will not complain about that.  Grilled food just tastes better.

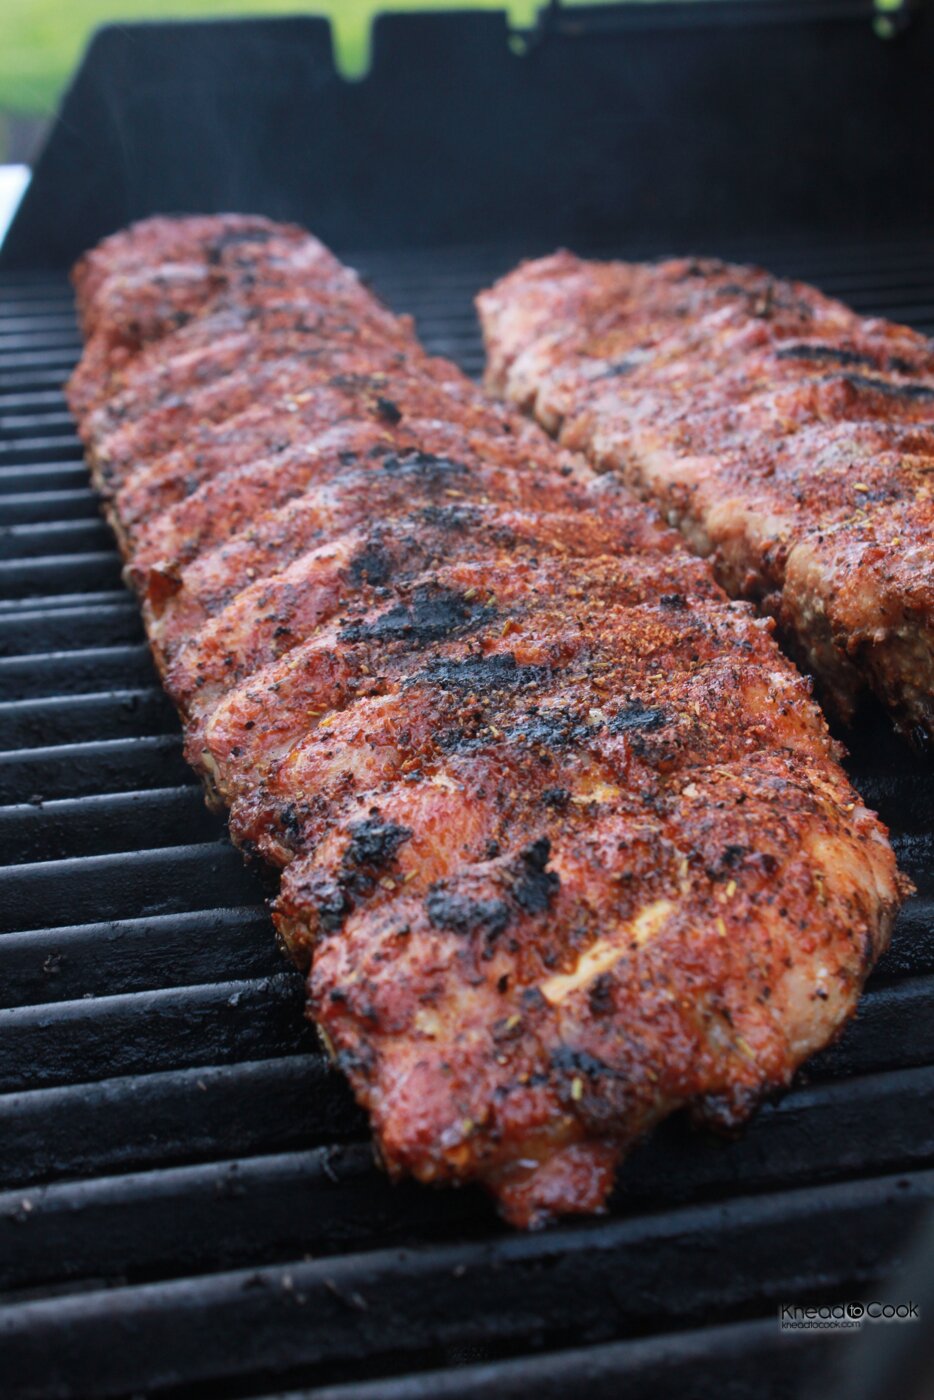
Last night my husband grilled the first set of ribs for the season.  I knew, I had to whip up a fresh batch of my sweet, spicy and smoky dry rub in honor of this event.  It is tangy, sweet with a smoky heat.  Perfection!

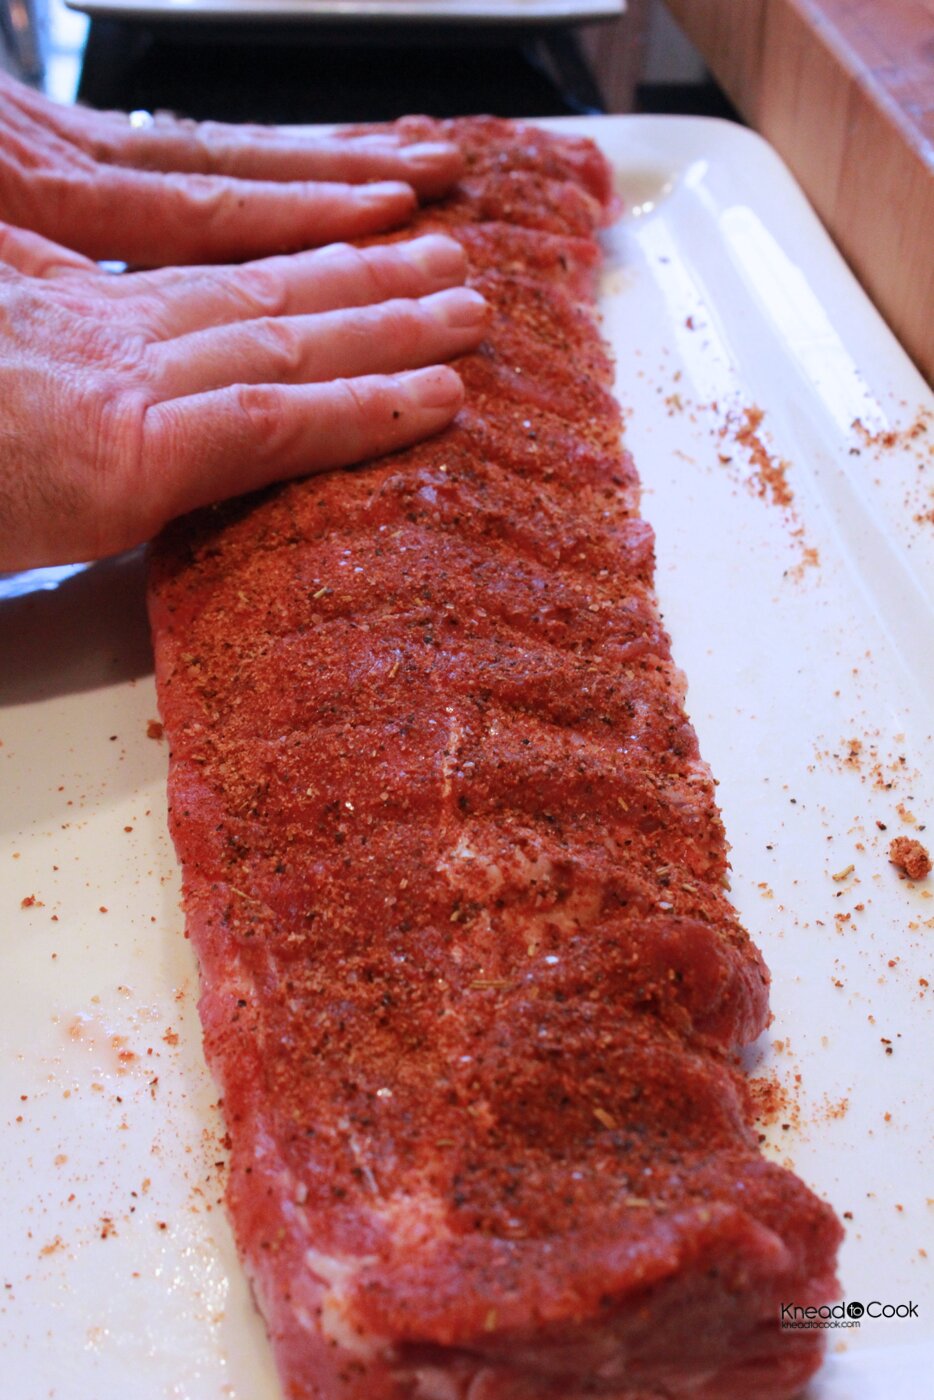
When using a dry rub of any kind, it’s best that you rub your meat down and refrigerate for at least 12-24 hours.  If you don’t have that kind of time, give it one hour for the spices to work their magic.

Ingredients:

3/4 cup of light brown sugar
2 tablespoons of salt (I used Lo Salt reduced sodium alternative)
1 tablespoon of chipotle chili powder
1 tablespoon of smoked paprika
1 tablespoon of garlic powder
2 teaspoons of ground cumin
1/2 teaspoon of cayenne pepper
1/2 teaspoon thyme
1/2 teaspoon of ground cinnamon

Directions:

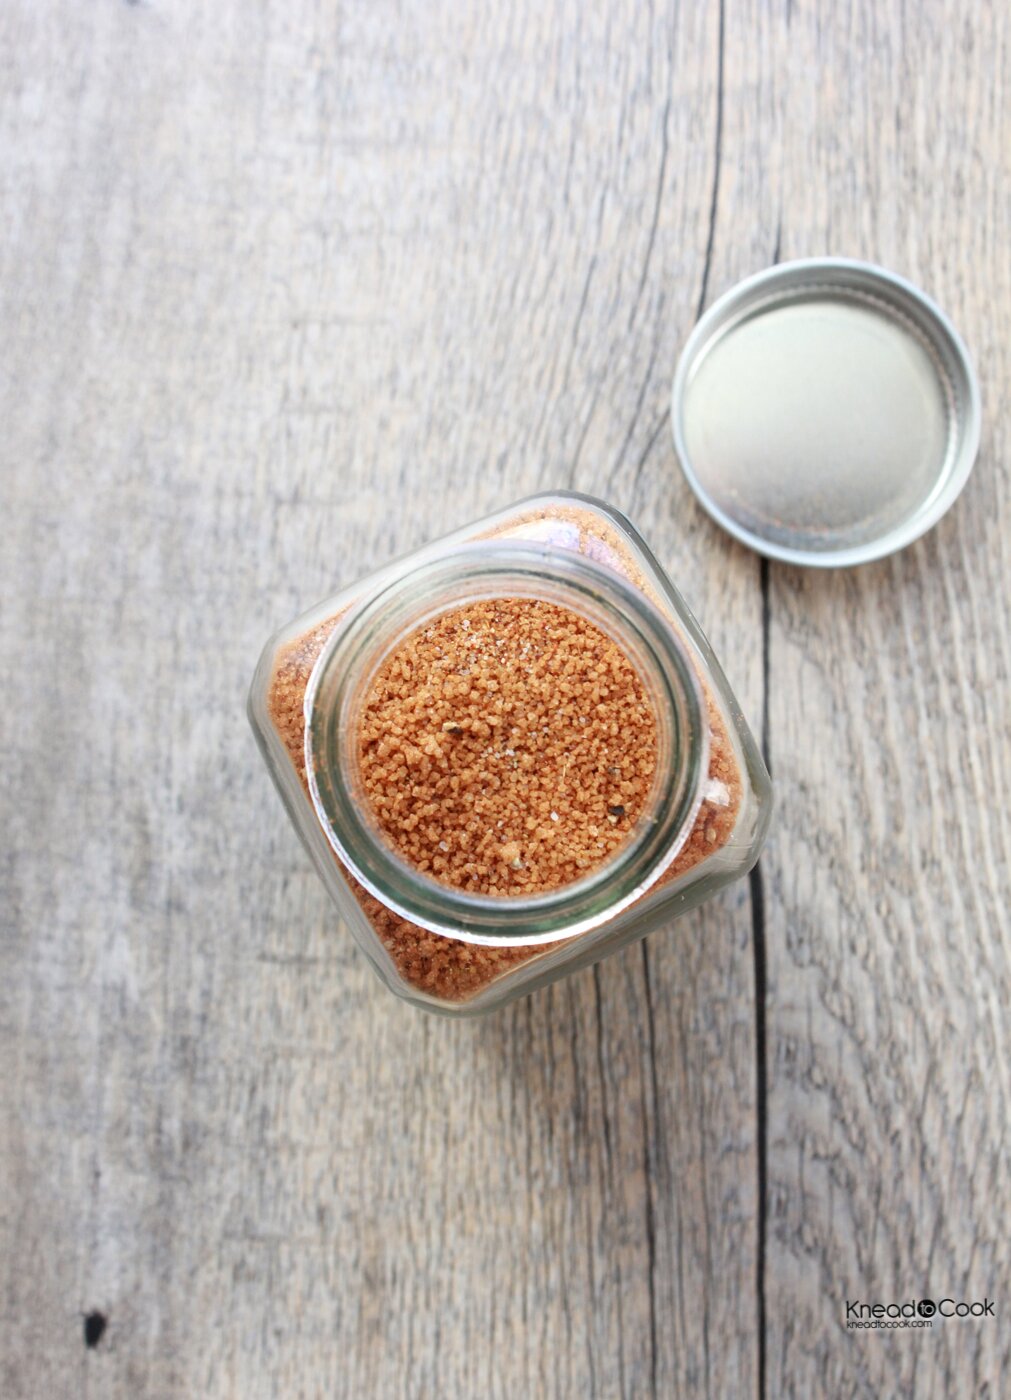
Place everything into a mini food processor, Vitamix or you can mix by hand or by adding everything to a tupperware container with a lid.  Process until well-combined.  Store in a container with a lid for up to 6-9 months.

This can be used on chicken, pork or beef.  Rub a generous amount on the meat and refrigerate for best results up to 24 hours or a minimum of 1 hour.  Place the meat on a hot grill and cook until desired temperature is achieved.  Enjoy!

photo


— Knead to Cook

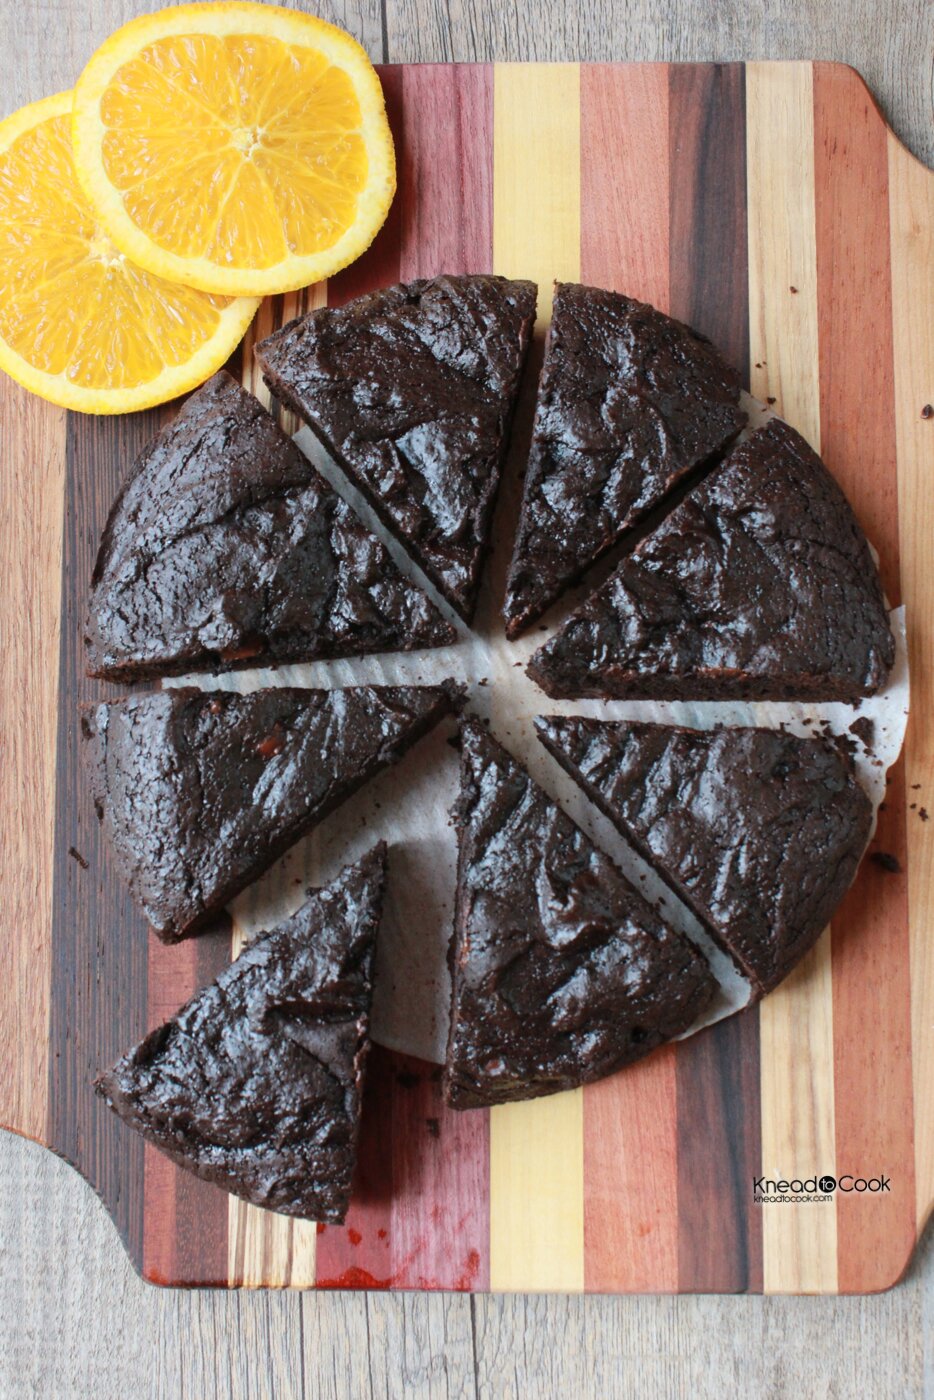
Dark Cocoa Orange Chobani Low Fat Brownies.

April 19, 2013 by Knead to Cook Filed Under: Brownies, Desserts 12 Comments

IMG_7326

I, like most people, are glued to my television today watching the events in Boston unfold with horror.  I bake when I’m upset so I whipped up a small batch of dark cocoa (from my Vermont trip to King Arthur) Chobani brownies.

Ingredients:

1/2 cup of all-purpose flour (King Arthur)
1/4 cup of whole wheat flour (King Arthur)
1/3 cup of dark cocoa powder
1/2 tsp of baking powder
1/4 tsp of salt
3 oz of dark chocolate (chopped)
3 tbl of butter
1/4 cup of brown sugar
1/4 cup sugar
Zest of one orange
2 tablespoon of Chobani (vanilla)
2 eggs
1 teaspoon of orange juice (from the orange you zested)
1 teaspoon vanilla extract

Optional:  1/4 dark chocolate chips

Directions:

Preheat your oven to 350 degrees.  Line your spring form (8 inch pan) pan with parchment paper on the bottom and then spray the entire interior with baking spray.  Set aside.

In your stand mixer bowl, sift flours, cocoa, baking powder and salt.  Then in a separate bowl melt the dark chocolate chips and butter in the microwave.  Mix together when melted.  Add to the dry mixture.  Then add the sugars and Chobani.  Blend.  Add the eggs, extract, juice and zest.  Blend until incorporated.  The mixture will be sticky and thick.  Dump into your prepared pan.  Try to spread out evenly – it will self-level while baking.  Bake for 20 minutes.  I undercook a bit to keep the brownie super moist.

Optional:  You can add some dark chocolate chips into the batter at this point.

— Knead to Cook

Banana PB Chobani Cocoa Nib Mini Muffins.

April 18, 2013 by Knead to Cook Filed Under: Breakfast, Muffins, Vegetarian Leave a Comment

IMG_7197


534963_10200518407915713_367535010_n


This is exactly what I do when I have too many bananas. This isn’t my normal banana bread recipe as I cannot leave well enough alone!  I’m attempting to healthify (yes, I know, it isn’t a word) every single thing I make.  These turned out great!

Ingredients:

1/3 cup of sugar
1/2 cup of butter (I used Smart Balance)
2 eggs
1 cup of whole wheat flour (King Arthur)
1 cup of all-purpose flour (King Arthur)
1 tsp of baking soda
3 tablespoons of powdered Peanut Butter
1 tablespoon of flaxseed meal
1/2 tsp of salt
2 ripe bananas
1 tsp vanilla extract
1/2 cup of vanilla Chobani (Greek yogurt)
3 tablespoons of organic cocoa nibs (you can use chocolate chips)

Directions:

Preheat your oven to 350 degrees and spray your mini muffin pan with non stick baking spray.  Set aside.

In your stand mixer, paddle attached, cream the sugar and butter together.  Add the eggs. Sifting over the bowl, add the flours, baking soda, powdered peanut butter and salt.  Blend. Then add flax seed, bananas, extract, Chobani and nibs.  Blend until combined.  Using a mini scoop, drop the dough into the prepared pan.  Fill 3/4 of the way filled and bake.  Bake for 16-18 minutes or until a toothpick inserted comes out clean.


— Knead to Cook

Oatmeal Flax Cocoa Nib Cookies.

April 18, 2013 by Knead to Cook Filed Under: Cookies, Vegetarian 6 Comments

534853_10200518396995440_88788750_n


I’ve been trying very hard to eat as clean a diet as I can.  I wanted to create a cookie that reflected that.  This is as close as I’ve come thus far.  Now this cookie isn’t for everyone, I realize that.  It isn’t ooey and gooey.  My goal, create a cookie that my family would eat, enjoy and wouldn’t compromise their healthy goals and their endless fitness activities yet would refuel in a good manner.  My kids loved these, so I’m happy!  I hope you give them a shot because they are really good and I promise, guilt-free.

Ingredients:

9 tablespoons of ground flax seed meal
1/4 cup of brown sugar
1/4 cup of agave nectar or maple syrup
1 egg
1 tablespoon of water
1/2 cup whole wheat flour (King Arthur)
1/2 teaspoon salt
1/4 teaspoon of baking soda
1.5 cups of rolled oats (I used organic)
2 tablespoons of organic cocoa nibs

Directions:

Preheat your oven to 350 degrees and line your cookie sheet with parchment or a Silpat.  Set aside.

In your stand mixer, blend your flax seed meal, sugar, agave, egg and water.  In a separate bowl sift your whole wheat flour, salt and baking soda.  Then add to the wet mixture.  Blend well.  Then add your oats and cocoa nibs and blend again.  Avoid over-mixing.  Using a mini scoop, drop the dough balls onto your prepared pan and bake for 12 minutes or until golden around the edges.

— Knead to Cook

  • 1
  • 2
  • 3
  • Next Page »
twitter  pinterest  instagram  mail  rss
welcome
Get Post via Email

Recent Posts

  • Crispy Baked Spicy Tofu. The best. Vegan & GF.
  • Mushroom recipe for those who hate mushrooms.
  • Smoky lentil stew. Vegan.
  • 2020 Holiday Gift Guide Small Businesses.
  • 2020 Holiday Gift Guide: Stocking Stuffers

Categories

  • 4th of July/Patriotic
  • 5 favorite things…
  • Air Fried
  • Appetizers
  • Asian inspired
  • Awards.
  • Beans
  • Beef
  • Best Vegan…
  • Beverages
  • Breads
  • Breakfast
  • Brownies
  • Brunch
  • Cabot Fit Team
  • Cakes
  • Candy
  • Cheese
  • Chicken
  • Chili
  • Cocktails
  • Condiments
  • Cookies
  • Crock Pot
  • Desserts
  • Dips
  • Dressings
  • Easter
  • Egg dishes
  • Evolution Power Yoga 40 Days
  • Featured
  • Fish
  • Fitness.
  • Friday Favorites Series
  • Frozen Pops
  • Fruit
  • Gift ideas
  • Giveaway!!!
  • Gluten Free
  • Going and Living Vegan
  • Grilling
  • Grilling/Rubs/Sauces
  • Ground Turkey
  • Halloween
  • Health & wellness
  • Holiday
  • Holiday Baking Ideas
  • Holiday Gift Guides
  • Homemade Chips
  • Ice cream
  • Indian-inspired.
  • Italian-inspired
  • Knead to Cook Promotions
  • Lentils
  • Life.
  • Lucy Let's Go Post
  • Mexican
  • Muffins
  • My story.
  • No bake/cooking required!
  • Notable mentions.
  • Nuts
  • Pantry
  • Party Foods
  • Pasta
  • Pies
  • Pizza
  • Popcorn
  • Pork
  • Potatoes
  • Pressure Cooker
  • Product Review.
  • Quick Bread
  • Raw
  • Rubs
  • Running/Races
  • Salads
  • Salsas & Guacamole
  • Sauces
  • Seafood
  • Side dish
  • Smoothies
  • Snacks
  • Soups
  • Sponsored
  • St. Patrick's Day
  • Stews
  • Stocks/Broths
  • Thanksgiving
  • Tofu
  • Travel & eating
  • Turkey
  • Valentine's Day
  • Vegan
  • Vegan Burgers
  • Vegan proteins
  • Vegetarian
  • Vinaigrette
  • Vitamix
  • Wheat Free
  • Yogurt
  • Your Life Edit Foundations
  • Zoku Popsicles
my foodgawker gallery
my photos on tastespotting
BEST Food Blogger Recipes
POPSUGAR Select Food POPSUGAR Select PLUS
Foodista Food Blog of the Day Badge
my healthy aperture gallery
My Menu On Honest Cooking
Sorry:

- Instagram feed not found.
iGourmet.com

<a href=”http://www.pntrac.com/t/SEFHRkZMR0xBTURISkdBTUlNREc”><img src=”http://www.pntrac.com/b/SEFHRkZMR0xBTURISkdBTUlNREc” border=”0″ width=”199″ height=”547″ title=”Caudalie Exclusive Premier Cru GWP” alt=”Caudalie Exclusive Premier Cru GWP”></a>

Quick Links

  • Home
  • About me.
  • Recipes
    • Breakfast
    • Brunch
    • Snacks
    • Desserts
    • Vegan
    • Vegetarian
    • Gluten Free
    • Wheat Free
    • Evolution Power Yoga 40 Days
  • In the Media
  • Favorites.
  • Contact.

Archives

  • January 2021
  • November 2020
  • October 2020
  • September 2020
  • August 2020
  • July 2020
  • June 2020
  • May 2020
  • April 2020
  • March 2020
  • February 2020
  • January 2020
  • December 2019
  • November 2019
  • October 2019
  • September 2019
  • August 2019
  • July 2019
  • June 2019
  • May 2019
  • April 2019
  • March 2019
  • February 2019
  • January 2019
  • December 2018
  • November 2018
  • October 2018
  • September 2018
  • August 2018
  • July 2018
  • June 2018
  • May 2018
  • April 2018
  • March 2018
  • February 2018
  • January 2018
  • December 2017
  • November 2017
  • October 2017
  • September 2017
  • August 2017
  • July 2017
  • June 2017
  • May 2017
  • April 2017
  • March 2017
  • February 2017
  • January 2017
  • December 2016
  • November 2016
  • October 2016
  • September 2016
  • August 2016
  • July 2016
  • June 2016
  • May 2016
  • April 2016
  • March 2016
  • February 2016
  • January 2016
  • December 2015
  • November 2015
  • October 2015
  • September 2015
  • August 2015
  • July 2015
  • June 2015
  • May 2015
  • April 2015
  • March 2015
  • February 2015
  • January 2015
  • December 2014
  • November 2014
  • October 2014
  • September 2014
  • August 2014
  • July 2014
  • June 2014
  • May 2014
  • April 2014
  • March 2014
  • February 2014
  • January 2014
  • December 2013
  • November 2013
  • October 2013
  • September 2013
  • August 2013
  • July 2013
  • June 2013
  • May 2013
  • April 2013
  • March 2013
  • February 2013
  • January 2013
  • December 2012
  • November 2012
  • October 2012
  • September 2012
  • August 2012
  • July 2012
  • June 2012
  • May 2012
  • April 2012
  • March 2012
  • February 2012
  • January 2012
  • December 2011

Copyright © 2021 · Swank WordPress Theme By, PDCD