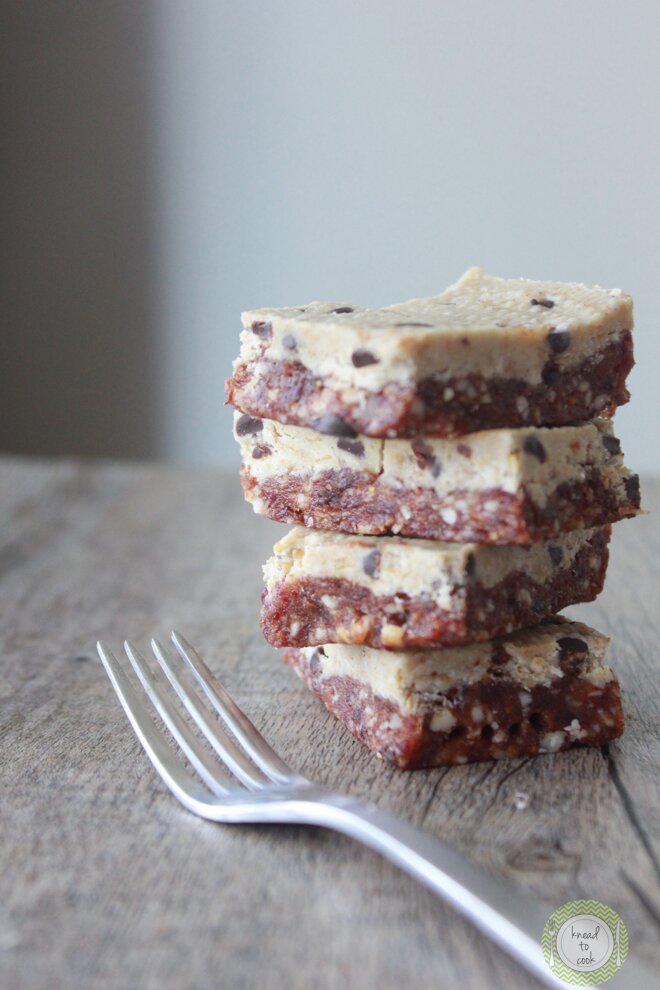
Necessity is the mother of invention, right? Well, I had a bread pan, not many Medjool dates and some other ingredients and I needed a gluten-free, dairy-free dessert for tomorrow night. We’re having some dear friends over for dinner and I wanted a fun dessert/treat that even my daughter could enjoy. The base of this recipe is fairly “basic” in the raw dessert world. It is really easy to make and comes together in literally minutes. I also noted options and changes that you can make to this recipe to work for you if you don’t need it to be gluten-free.
Get ready to kick-off the 4th of July long weekend of parties, pool, beach, family and friends.
Ingredients for the base:
3/4 cup of raw almonds
16-18 Medjool dates (make sure they’re fresh), pitted
1 teaspoon of vanilla paste or extract
1/4 teaspoon sea salt
Directions:
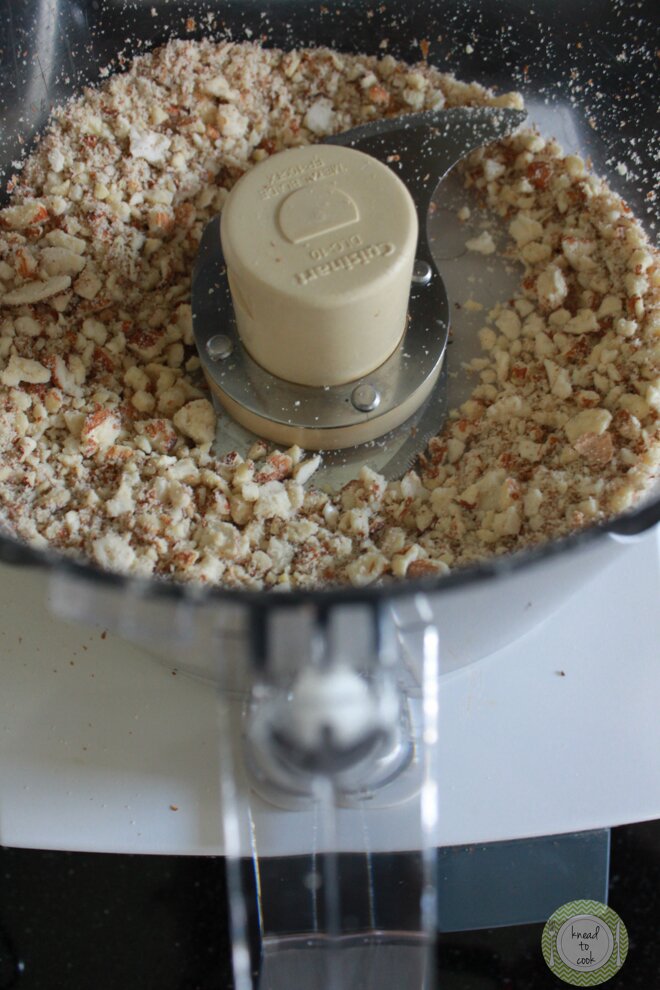
Line your bread pan with parchment paper having it overhang the pan for easier removal. Into your food processor, add the almonds and pulse until a you achieve a coarse almond meal (small/medium pieces are fine). You don’t want smooth almond meal – pieces are fine in there too!
Then add your pitted dates, vanilla and sea salt. Blend until a ball forms. See pic below.
Press the “dough” into your bread pan and making sure it’s evenly distributed across the pan and into the corners. Set aside.
Ingredients for topping:
4 tablespoons of maple syrup
2 tablespoons of softened coconut manna/butter -warmed to soften
2 tablespoons of coconut oil, melted
*If you don’t have coconut butter, use 3 tablespoons of melted coconut oil
1/2 cup of Cup 4 Cup gluten and dairy free flour (if you don’t have a gluten allergy – use all purpose flour)
1/4 cup of vegan chocolate chips (I use Enjoy Life)
Directions for topping:
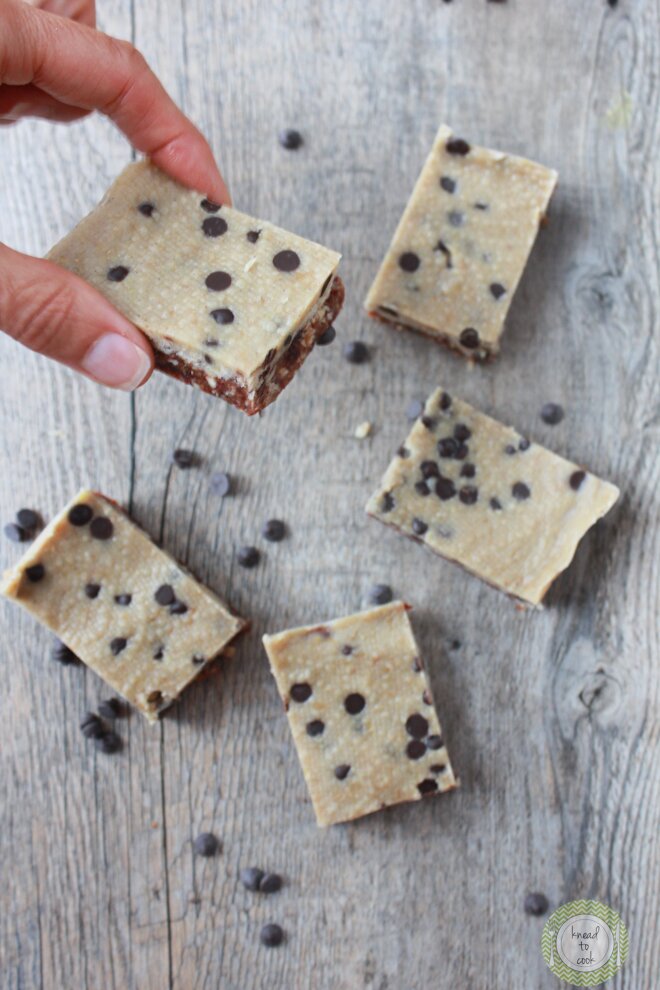
Into a bowl, add the syrup, coconut butter (or manna as it’s known) and oil or all coconut oil if you don’t have the coconut butter. Whisk together. Then add your flour. Whisk again. Pour this on top of your base and then sprinkle with the vegan chocolate chips. I used a spoon to press them down into the mixture. If you notice that the topping seems a bit oily, I blotted it with a paper towel (hence the pattern on the top of the cookie bar) before I placed in the refrigerator. Then refrigerate for 1 hour to set up.
Remove by pulling up the parchment paper and slice. Store uneaten bars in the fridge in an airtight container. Enjoy!
— Knead to Cook


Oh my goodness. These are SO easy to make!! I’m going to have to try them. LOOOOVE raw desserts!
Me too! My kids are already gobbling the up. May need another batch. oxo
These bars look so delicious!
Thanks!! They are super delish! oxo
Hope you guys had a fun dinner party! These look really good!! Pinning!!
We did! Thanks. Miss you oxo
These were fabulous! Thank you for a great recipe
Thanks Shannon for the review. I’m so happy you loved them! oxo