
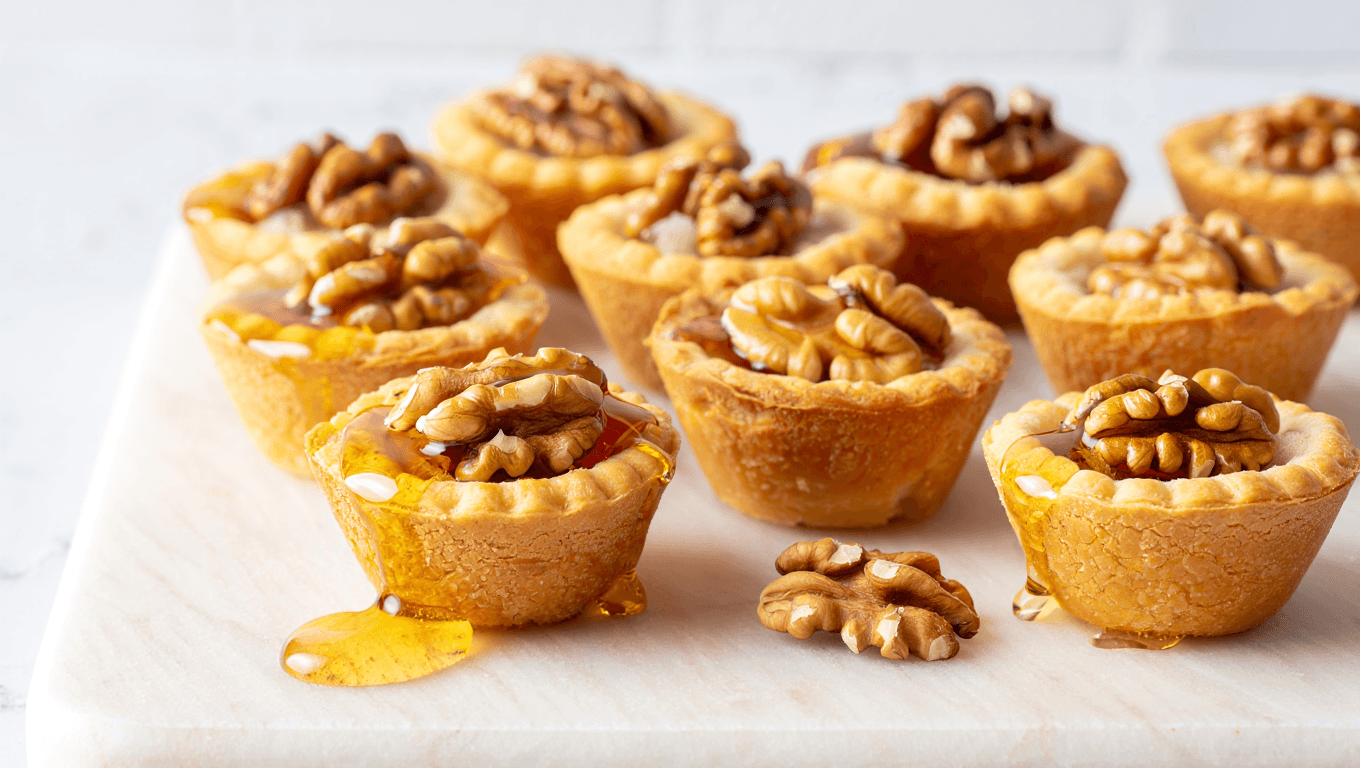
I made these little honey-walnut cups on a whim one afternoon, pulling ingredients from my pantry and turning them into a bite-sized dessert. The result was a crisp, buttery shell filled with sticky honey and toasted walnuts. They vanished fast, and I kept tweaking the process until each batch came out reliably sweet and crunchy.
Fast facts: timing, yield and what you need to know
- Prep time: about 30 minutes
- Bake time: roughly 15 minutes
- Total time: around 45 minutes
- Yield: about 24 mini cups (mini muffin tin)
- Category: Dessert
- Method: Oven-baked
- Cuisine: American-style treat
Ingredients for buttery shells and sticky filling
Shortbread-style cups
- 1 cup (226 g) unsalted butter, softened
- 1/2 cup (100 g) packed brown sugar
- 2 cups (250 g) all-purpose flour
- 1/2 teaspoon salt
Honey and walnut filling
- 2 tablespoons butter
- 2 to 2 1/2 cups chopped walnuts
- 1 1/2 cups packed brown sugar
- 3/4 cup (180 ml) honey
- 1 teaspoon pure vanilla extract
- 2 tablespoons butter, melted (for the filling)
Step-by-step: building the shell
- Preheat the oven to 350°F (175°C). Lightly grease a mini muffin pan or use nonstick spray.
- Cream the softened butter and brown sugar until smooth and slightly fluffy.
- Add the flour and salt. Mix just until the dough comes together and feels uniform.
- Pinch off small pieces and press them into each mini tin cavity, forming a neat cup shape. Ensure the base and sides are even.
- Set the prepared pan aside while you make the filling.
Step-by-step: honey-walnut filling and baking
- In a skillet, melt 2 tablespoons butter over medium heat.
- Add the chopped walnuts and toast, stirring often, until they smell nutty and turn golden. This takes about 8–10 minutes.
- In a mixing bowl, whisk together the honey, 1 1/2 cups brown sugar, melted butter, and vanilla until smooth.
- Stir the toasted walnuts into the honey mixture until every bit is coated.
- Spoon about one tablespoon of filling into each unbaked shell. Fill to roughly three-quarters to leave room for bubbling.
- Bake the cups 12–15 minutes, or until the pastry edges are golden and the filling bubbles lightly.
- Remove from the oven. Wait about 5 minutes, then spoon a little extra filling on top of each cup if you like a glossy finish.
- Allow the cups to cool in the pan before removing. Cooling in the pan helps them set and keeps their shape.
Pro tips, variations and troubleshooting for perfect walnut cups
- Do not overfill: the honey mix expands and bubbles while baking.
- If the filling is too runny after baking, chill the pan briefly; it firms up as it cools.
- Substitute pecans for walnuts for a different flavor profile.
- Use a mix of honey and maple syrup for a deeper, caramel note.
- For larger portions, bake in a standard muffin tin but increase bake time and watch the filling closely.
- Toast the nuts gently to avoid burning. Burnt nuts ruin the flavor quickly.
Serving ideas and storage
- Serve warm with a scoop of vanilla ice cream for contrast.
- Room temperature is fine for short-term serving, but refrigerate leftovers.
- Store in an airtight container in the fridge for up to 4–5 days.
- Rewarm briefly in a low oven before serving to restore that fresh-baked feel.
Similar Posts:
- Chocolate granola cups: gooey peanut butter filling inside
- Chocolate chip cookie cups stuffed with Nutella: melt-in-your-mouth treat
- Peanut butter granola cups: no-bake, ready in 10 minutes
- mini pecan pie cheesecakes: irresistible bite-sized desserts for holiday parties
- Blueberry muffins with streusel crumb topping: irresistible bakery-style recipe

Health advocate and wellness researcher, Dr. Monroe brings clarity to confusing health trends with science-backed advice. Her mission is to help readers live vibrantly, from the inside out.