
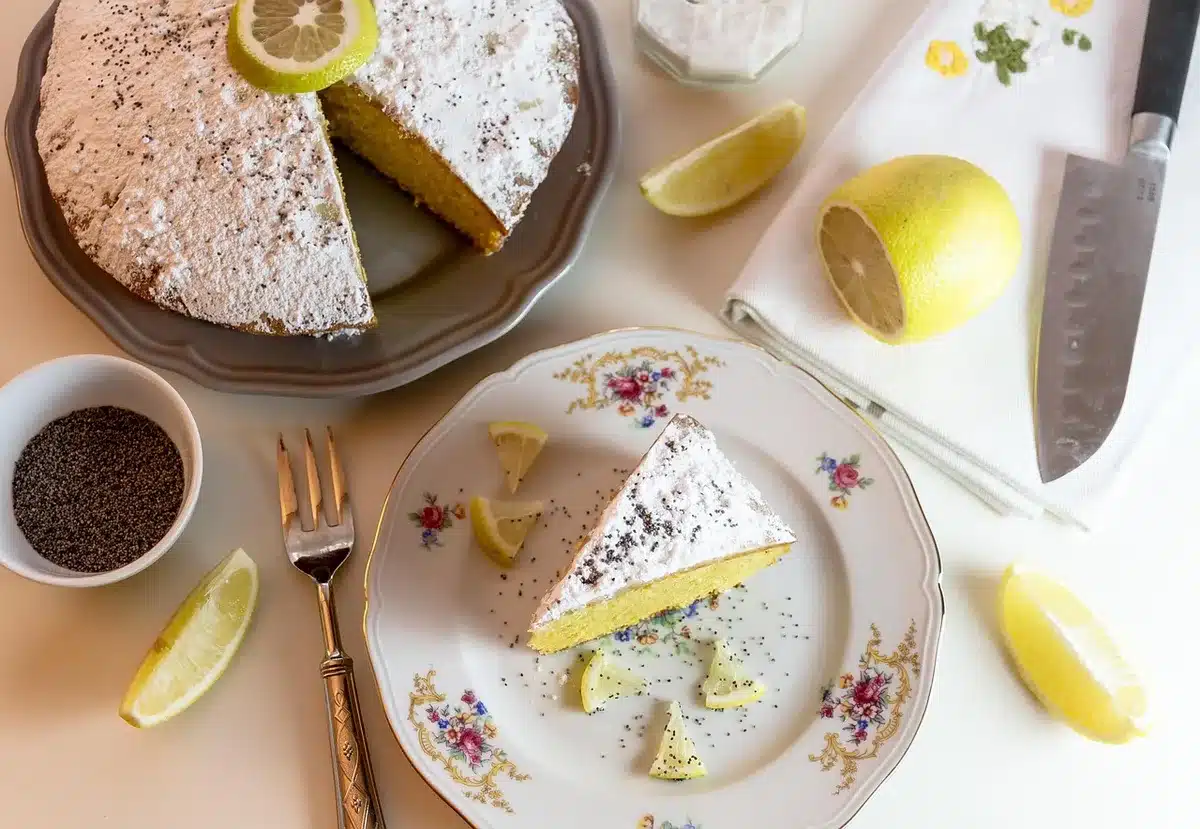
Bright, buttery bars studded with fresh strawberries and a lemony lift, these strawberry lemon blondies are a quick way to bring spring to the table. They bake in under an hour and finish with a glossy, fruit-sweet glaze that makes each square vibrant and irresistible.
Why these Strawberry Lemon Blondies are worth trying
- Simple ingredients that you likely have on hand.
- Fudgy, dense crumb—not cakey, not dry.
- Balanced sweet-tart flavor from fresh berries and lemon.
- Entertainer-friendly—easy to make for picnics or parties.
- Improves with rest—flavors meld overnight for a richer bar.
Ingredients for the blondies and glaze
- All-purpose flour — 1 cup (125 g)
- Baking powder — 1/4 tsp
- Salt — 1/4 tsp
- Unsalted butter — 1/2 cup (113 g), softened
- Granulated sugar — 3/4 cup (150 g)
- Vanilla extract — 1/2 tsp
- Lemon zest — zest of 1 lemon
- Large egg — 1, room temperature
- Fresh lemon juice — 1/4 cup (60 ml)
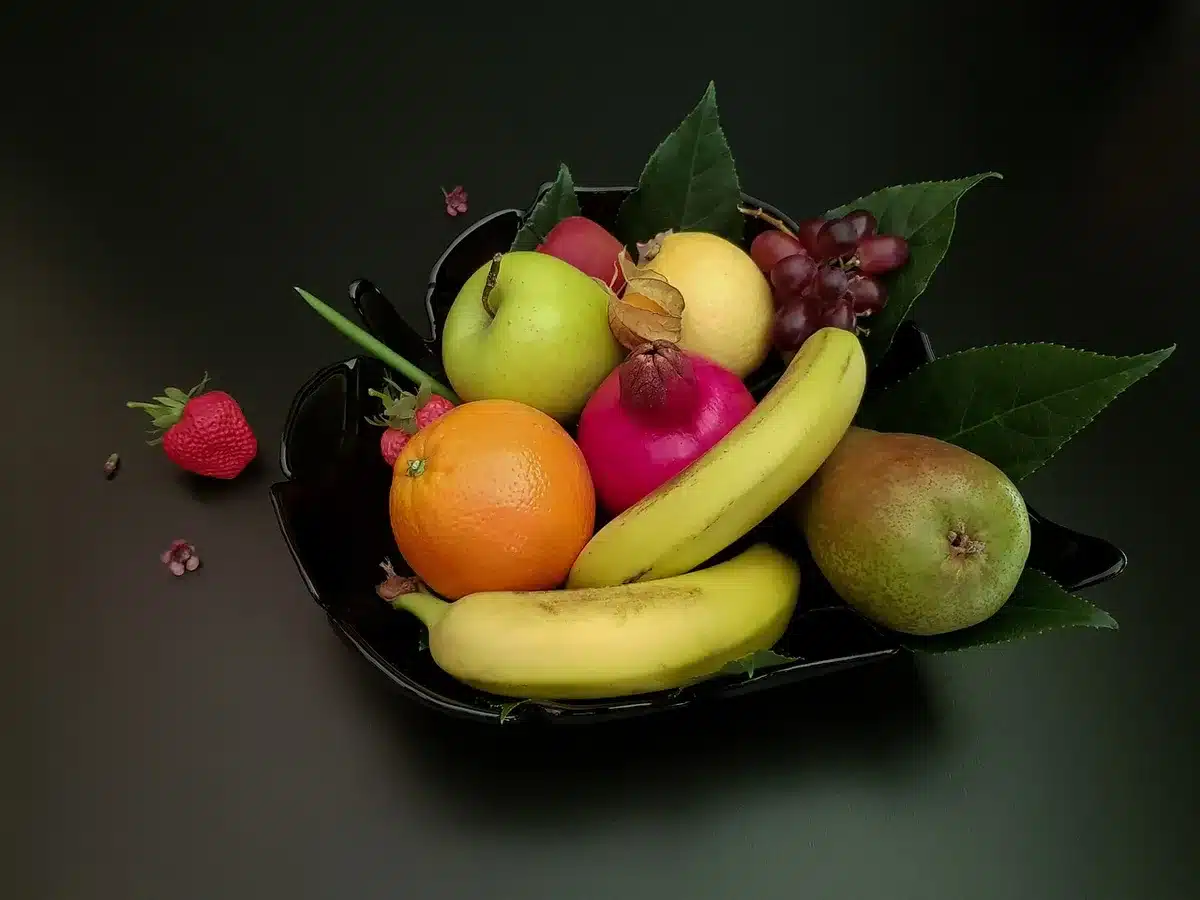
- Fresh strawberries — about 1 heaping cup, diced
- Cornstarch — 1 tsp (to keep berries from watering down the batter)
Glaze
- Powdered sugar — 1 cup, sifted
- Lemon juice — 1 tbsp
- Strawberries — 2–3 large, diced and pureed
How to bake strawberry lemon blondies step by step
- Preheat oven to 350°F (175°C). Line an 8×8-inch pan with parchment, leaving an overhang.
- Whisk flour, baking powder, and salt in a bowl. Set aside.
- Cream the softened butter, granulated sugar, vanilla, and lemon zest until smooth and pale.
- Beat in the egg, then stir in the fresh lemon juice. The mixture may look runny; that is fine.
- Fold the dry ingredients into the wet until just combined. Do not overmix.
- Toss the diced strawberries with cornstarch, then gently fold them into the batter.
- Spread the batter evenly in the prepared pan and bake 25–30 minutes.
- Remove when edges are lightly golden and the center is set but still soft.
- Cool completely in the pan on a rack before glazing.
- For the glaze: puree the diced strawberries with lemon juice. Stir the puree into powdered sugar until thick but spreadable.
- Spread the glaze over cooled blondies. Let the topping set before slicing into squares.
Pro tips for the juiciest, chewiest bars
- Don’t overmix once flour is added. Overworking develops gluten and makes bars tough.
- Dice berries small so they disperse evenly and avoid large pockets of moisture.
- Fresh lemons and strawberries make a noticeable flavor difference. Use fresh whenever possible.
- Watch the center—pull the pan when it’s set but still slightly soft for a fudgy bite.
- Cool fully before glazing. A hot bar will melt the glaze and make a runny mess.
Make-ahead, storage, and serving suggestions
- Make ahead: Bake the day before. Bars taste even better after flavors settle.
- Refrigerate: Store glazed blondies in an airtight container for 4–5 days.
- Freeze: Wrap unglazed bars tightly and freeze up to 2 months. Thaw and glaze when ready.
- Serve: Bring to room temp for the best texture. Add a scoop of vanilla ice cream if desired.
Common questions about strawberry lemon blondies
Are blondies the same as brownies?
Blondies share the dense, fudgy texture of brownies but omit cocoa. They have a buttery, vanilla-forward profile.
Can I use frozen strawberries?
Frozen berries add extra moisture. For the best texture, use fresh and finely diced strawberries.
Why did my blondies turn out crumbly?
Overbaking or too much flour often causes crumbliness. Measure carefully and remove from oven when the center is set.
How long do they keep?
Stored in the fridge, glazed blondies stay fresh for about 4–5 days in an airtight container.
Quick facts: timing and yield
- Prep time: about 10 minutes
- Bake time: 25–30 minutes
- Total time: roughly 45 minutes including cooling
- Yield: one 8×8 pan, about 9–12 squares depending on size
Similar Posts:
- Strawberry oatmeal bars: easy skinny recipe for a healthy snack
- blueberry lemon blondies: tangy summer bars everyone will love
- Peach blondies recipe: juicy summer dessert with fudgy, caramelized bars
- triple strawberry cake goes viral: three-layer dessert wows customers
- Strawberry coffee cake recipe: moist, easy and irresistible

Health advocate and wellness researcher, Dr. Monroe brings clarity to confusing health trends with science-backed advice. Her mission is to help readers live vibrantly, from the inside out.