
Turn a classic Oreo truffle into a festive showstopper with a few simple moves. These Christmas tree Oreo truffles are a quick, no-bake holiday treat that looks impressive and tastes irresistible. Read on for an easy recipe, shaping tips, and decoration ideas to make dozens of bite-sized trees for parties or gifts.
Quick facts: time, yield and why you’ll love them
- Prep time: about 30 minutes active, plus chilling.
- Total time: roughly 1–2 hours, including freezes.
- Yield: about 30 small trees.
- Why make these: No baking required, simple ingredients, and perfect for cookie exchanges or edible gifts.
Ingredients for about 30 mini Christmas-tree truffles
- 28 Oreo cookies, crushed to fine crumbs.
- 5 oz cream cheese, softened.
- About 30 pretzel-stick pieces, trimmed to roughly 1.5 inches each.
- 14–16 oz chocolate for coating (combination of semi-sweet and white works well).
- Green food coloring (1–2 drops for white chocolate).
- Assorted sprinkles for decorating.
How to prepare the Oreo truffle base
Make the filling first. The base is just finely ground Oreos mixed with cream cheese. The texture should be firm enough to cut and shape.
- Line a baking tray with parchment paper.
- Process whole Oreo cookies, including filling, until they form very fine crumbs.
- Add the softened cream cheese and pulse until evenly combined. The mixture will be thick.
- Transfer the mixture to the prepared tray. Press or roll it into a rectangle about ½ inch to ¾ inch thick.
- Cover with another sheet of parchment and smooth the surface with a rolling pin for an even slab.
- Freeze the slab for about 30 minutes. It should be firm but not rock-hard.
Shaping, assembling, and freezing the tree shapes
Cutting frozen dough is faster and cleaner. Use small triangles to mimic tree shapes and add pretzel trunks.
- Remove the slab from the freezer. Cut it into strips less than 2 inches wide.
- Slice those strips into small triangles to form trees.
- Insert a pretzel piece into the base of each triangle to act as a trunk. Twist gently if needed to prevent cracks.
- Place the assembled trees back on parchment and freeze until completely solid. Frozen truffles dip cleaner and hold their shape better.
Melting chocolate and coating the truffles
Work in batches to keep the remaining trees frozen. Use dipping tools or a fork for an even coating.
- Melt the chocolate in a bowl over a double boiler or briefly in the microwave, stirring often.
- Dip each frozen tree fully into the melted chocolate and transfer back to parchment to set.
- Keep the unused trees in the freezer while you work to avoid softening.
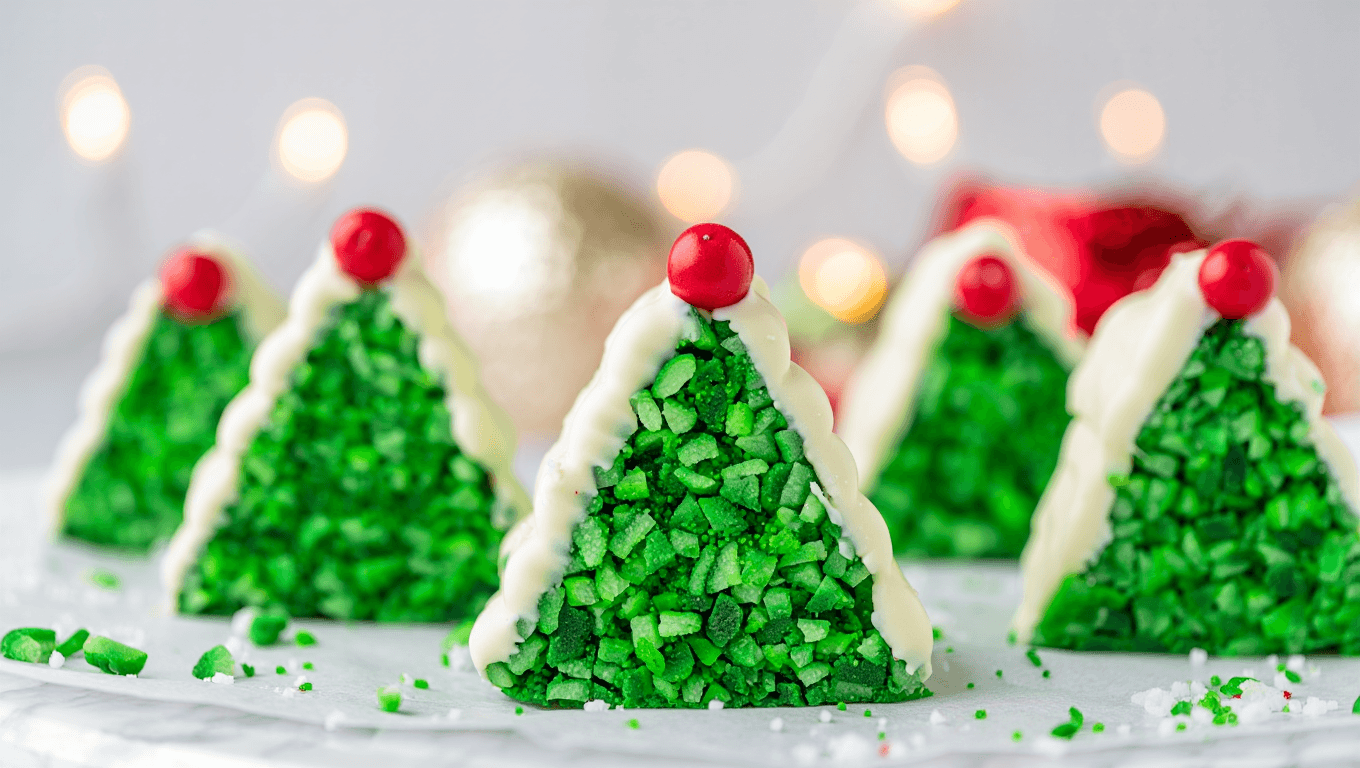
Finishing touches: coloring and decorating like a pro
Small details turn these into charming holiday bites. Use colored white chocolate and sprinkles for instant charm.
- Color a portion of white chocolate with 1–2 drops of green food coloring. Stir until uniform.
- Put the green chocolate into a small piping bag or a disposable bag with a tiny corner snipped off.
- Drizzle green swirls over each coated tree and add sprinkles immediately, before the drizzle hardens.
- Decorate in small sets so the chocolate stays wet enough to catch sprinkles.
Helpful tips for flawless results
- Freeze, don’t over-freeze: The slab should be firm but not crumbly when you cut it.
- Work fast: Dip a few trees at a time so the rest remain frozen.
- Use contrasting chocolate colors for visual impact.
- Store finished truffles in the fridge or a cool place until serving.
Storage, gifting and serving suggestions
- Keep truffles refrigerated in an airtight container for up to a week.
- Layer parchment between rows to prevent sticking.
- Package in clear boxes or cellophane for pretty edible gifts.
- Pair with other seasonal bites like red velvet truffles or cranberry-pistachio white chocolate truffles for a festive platter.
Similar Posts:
- Christmas Tree Cakes: Festive Delights or Holiday Hazards?
- Christmas desserts: my best recipes ever
- Chocolate peanut butter Christmas trees: easy no‑bake holiday treats
- Christmas tree cheesecake: easy showstopping holiday dessert to wow guests
- Chocolate-covered Oreos for Valentine’s: easy recipe to wow your date

Health advocate and wellness researcher, Dr. Monroe brings clarity to confusing health trends with science-backed advice. Her mission is to help readers live vibrantly, from the inside out.