
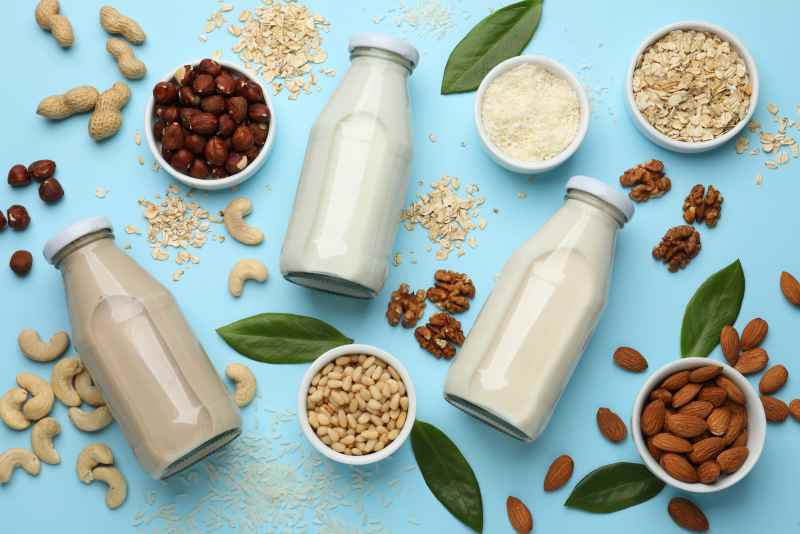
Interest in plant-based milk has grown steadily as people look for more control over what goes into their food—whether for dietary needs, ethical reasons, or simply curiosity about ingredients and sugar content. At its core, plant-based milk is nothing more than water blended with nuts, seeds, grains, or legumes, sometimes strained for a smoother finish. Making it yourself lets you dial in sweetness, flavor, and creaminess while cutting down on packaging waste and unnecessary additives. After years of experimenting with oat, almond, cashew, and soy bases, I can say the process is far more forgiving than it looks on paper. This article walks through the core methods, common tools, safety practices, and troubleshooting tips, drawn from hands-on experience and general food safety guidance.
Tools and Methods for Homemade Plant Milk
Most homemade plant milks follow the same basic path: soak the base ingredient if needed, blend it with fresh water, then strain out the pulp. The toolkit required is refreshingly simple—a high-speed blender and a straining method such as a nut milk bag, cheesecloth, or fine mesh sieve. Some home cooks prefer a nut milk maker, which combines blending and straining into a single step, though it’s really just one option among several rather than something you need to own. A basic blender and strainer will get you just as far.
A general workflow looks something like this:
- Soak nuts, seeds, or legumes for several hours to soften them.
- Blend with water, typically at a 1:4 to 1:5 ratio depending on how rich you want the result.
- Strain if you’re after a smoother, pulp-free texture.
- Refrigerate promptly in a clean, airtight container.
Different bases behave in their own ways. Almonds and cashews soften nicely with soaking, and cashews in particular often need little to no straining afterward. Oat milk, on the other hand, can turn slimy if it’s over-blended or made with warm water, so shorter blending times and cold water tend to work better. Soy milk needs an extra step altogether: boiling the blended mixture for about 20 minutes to remove that raw, beany taste and make it easier to digest.
Key Takeaway: Homemade plant milk gives you full control over ingredients and flavor, but it typically lacks the fortification—calcium, vitamin D, B12—found in many store-bought versions. Keep your nutritional needs in mind before treating it as a complete dairy replacement.
Safety, Storage, and Common Adjustments

Hygiene matters just as much as technique here. Wash your equipment thoroughly, discard the water used for soaking nuts or legumes, and blend with fresh water to avoid any bitterness carrying through. Homemade plant milk is perishable, so refrigerate it right away and use it within three to four days. It’s also worth doing a quick smell and taste check before drinking—if anything seems sour or off, it’s best to toss it.
Most texture problems are easy enough to fix. If the milk turns out too thin, simply increase the ratio of solids to water next time. If it’s grainy, try blending a bit longer or straining twice. For flavor, a date or a splash of maple syrup adds gentle sweetness, while a pinch of salt helps round everything out. Keeping notes on your preferred ratios—something like “1 cup almonds, 4 cups water, 2 dates”—makes it much easier to recreate a batch you liked.
Bringing Plant-Based Milk Into Your Daily Routine
Once you get the hang of the basic soak-blend-strain rhythm, making plant-based milk at home becomes second nature. Whether you stick with a simple blender setup or invest in a dedicated appliance, what really matters is food safety, freshness, and a willingness to experiment—not the specific tools you use. Start with one base, adjust it to your taste, and build a routine that fits your kitchen and your priorities, whether that’s flavor, convenience, or simply knowing exactly what’s in your glass.
Similar Posts:
- Pistachio Mocha Madness: The New Drink Set to Revolutionize Your Summer!
- plant-based diets may slash diabetes and heart disease risk
- Foolproof Butternut Squash Velouté: Master This Cozy Soup Recipe!
- Homemade peanut butter in 3 minutes and under €3: chef’s genius hack
- Plant-based diet may boost heart health: could cut cancer and kidney disease risk

Naomi is a clean beauty expert passionate about science-driven skincare and natural remedies. She demystifies ingredients and shares routines that empower readers to glow — naturally.