
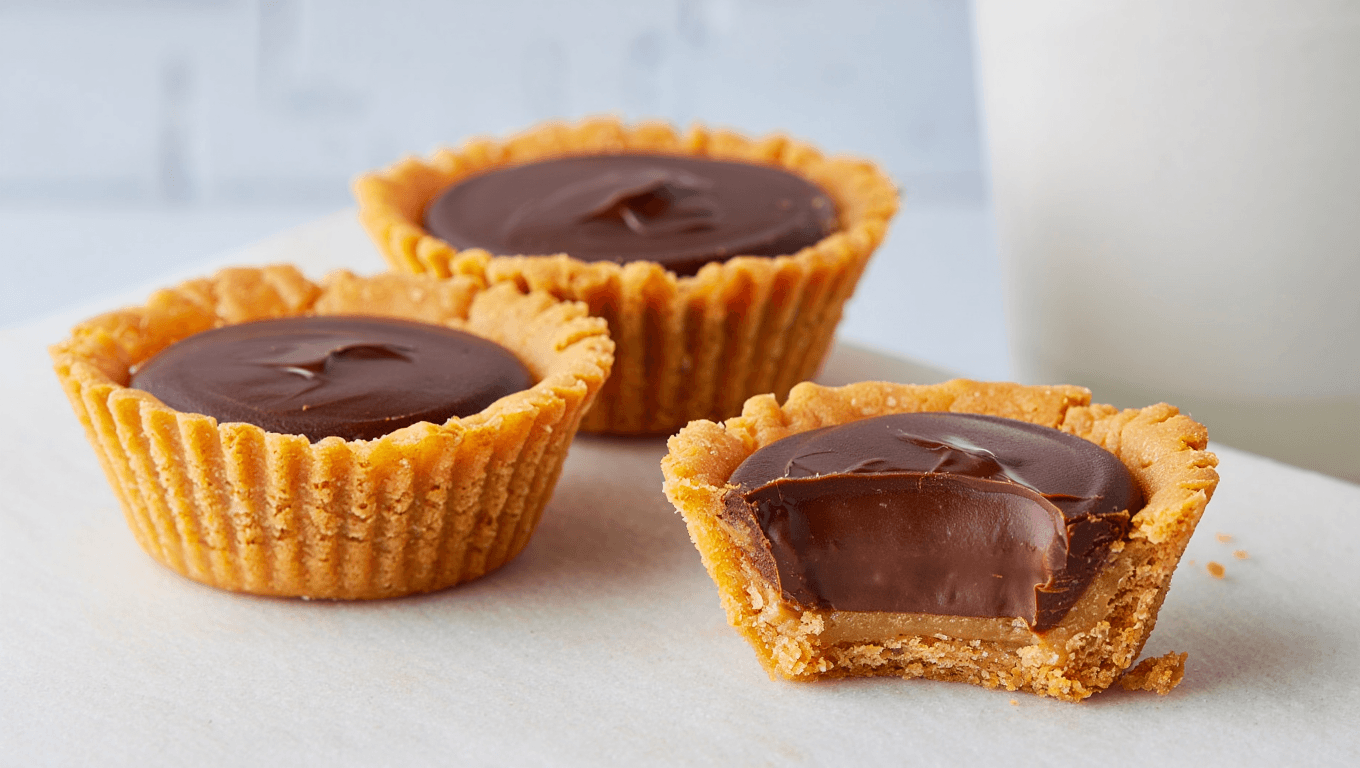
When quarantine boredom and a sweet tooth collide, small comforts turn into kitchen experiments. These Peanut Butter Chocolate Cups pair crisp peanut-butter cookie shells with a glossy chocolate fudge center. They bake quickly and vanish even faster.
Why these Peanut Butter Chocolate Cups steal the show
The contrast between a crunchy cookie cup and a silky chocolate filling is what makes this treat addictive. They are bite-sized, shareable, and simple to assemble. Perfect for casual gatherings or for a quick culinary mood lift.
A personal nudge to bake
A recent bout of unexpected illness left me stuck at home and scrolling through recipes. Baking felt like a tiny celebration of normalcy. Making these cups cleared my head and filled the kitchen with warm, familiar aromas.
Quick facts: time, yield, and method
- Prep time: 10 minutes
- Cook time: 15 minutes
- Total time: 25 minutes
- Yield: about 35 mini cups
- Method: oven-baked
- Category: dessert
- Cuisine: American-style treat
Ingredients you will need
For the peanut butter cookie cups
- 1/2 cup softened butter
- 1/2 cup creamy peanut butter
- 1 cup granulated sugar
- 1 large egg
- 1/2 teaspoon vanilla extract
- 1 1/4 cups all-purpose flour
- 3/4 teaspoon baking soda
- 1/2 teaspoon salt
For the chocolate fudge filling
- 1 cup milk chocolate chips
- 1 cup semi-sweet chocolate chips
- 1 (14 oz) can sweetened condensed milk
- 1 teaspoon vanilla extract
- 1 tablespoon peanut butter, warmed for drizzling
How to make these cups: step-by-step
- Preheat the oven to 325°F (163°C) and spray a mini muffin pan.
- Cream together the softened butter, peanut butter, and sugar until smooth.
- Beat in the egg and vanilla until combined.
- Stir in flour, baking soda, and salt. Mix until the dough holds together.
- Portion about 1 tablespoon of dough per cup. Use a cookie scoop to save time.
- Press each dough ball into the mini pan, forming a shallow cup shape.
- Bake for 12–15 minutes, until edges are lightly golden.
- While still warm, press the center of each cookie with a teaspoon to make a well.
- Cool in the pan for 8–10 minutes, then transfer to a wire rack to cool another 15 minutes.
- For the filling: combine both chocolate chips and the sweetened condensed milk in a microwave-safe bowl.
- Heat on high in 1-minute bursts, stirring between, until the mixture is smooth. Stir in the vanilla.
- Fill a small zipper bag with the fudge, snip a corner, and pipe the chocolate into each cookie cup.
- The chocolate should mound slightly above the cookie rim. It firms up quickly.
- If the filling tightens, warm it 10–15 seconds in the microwave to loosen.
- Warm about 1 tablespoon of peanut butter and drizzle it over the set chocolate for a finishing touch.
Useful tips, storage, and variations
- Leftover fudge: You will likely have about one-third of the filling left. Chill it for another dessert or enjoy it by the spoonful.
- Use a cookie scoop to make uniform cups and speed up prep.
- For firmer cups, refrigerate after filling for 15 minutes.
- Swap chocolate chips for dark chocolate for a less sweet version.
- These keep well in the fridge for up to 5 days in an airtight container.
- Make the cookie shells ahead and freeze them; fill and finish after thawing.
Quick troubleshooting and serving notes
- If wells are too shallow, press again while cookies are still warm.
- To pipe filling neatly, set the bag in a tall glass and fold the edges over.
- Let the cups rest at room temperature before serving so the texture evens out.
- Serve with coffee or milk for a classic pairing.
Similar Posts:
- Peanut butter chocolate granola cookies: crunchy, chewy bites ready in 20 minutes
- Chocolate peanut butter mini cheesecakes: bite-sized treats you can’t resist
- Chocolate peanut butter oatmeal cookies: easy, gooey treats you can’t resist
- Chocolate chip shortbread cookies with peanut butter: simple, irresistible treat
- Chocolate granola cups: gooey peanut butter filling inside

Health advocate and wellness researcher, Dr. Monroe brings clarity to confusing health trends with science-backed advice. Her mission is to help readers live vibrantly, from the inside out.