Homemade Chocolate Nut Milk. Vegan. GF.
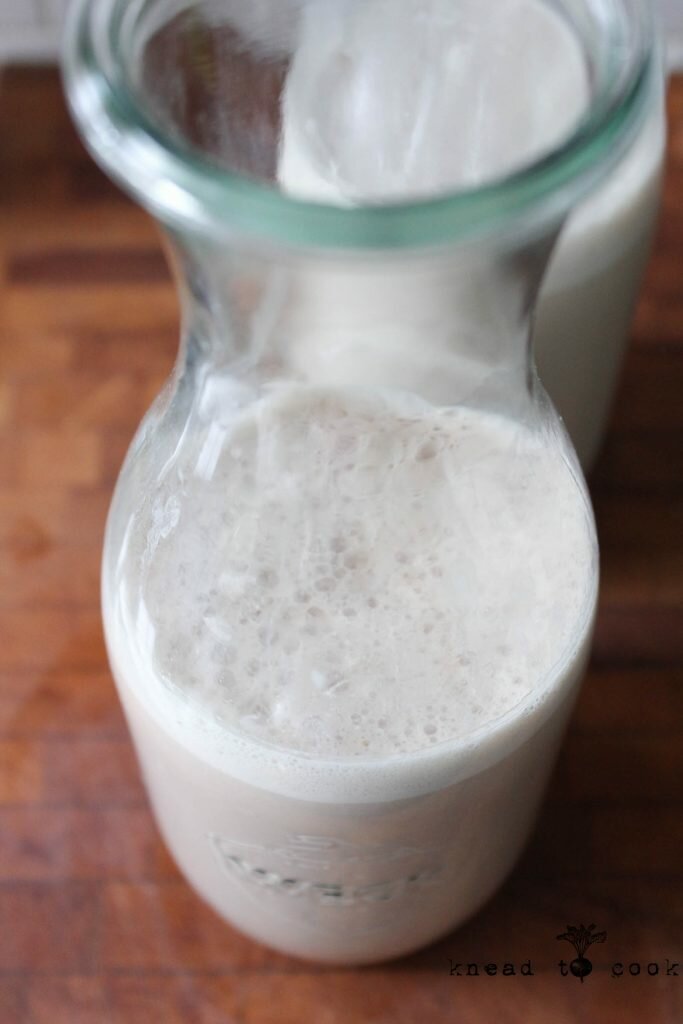
Homemade chocolate nut milk.
I’ve been on a homemade nut milk kick lately & I’m making no apologies for it. I’m the girl who always has something soaking in my kitchen. Since my husband ordered me my nut milk straining bag (okay, refrain from laughing) but seriously, this thing is critical for making nut milk —-it made the process a dream! This is the bag I got. I was excited to use it and it didn’t disappoint.
I made two batches of milk (different combination of nuts this time) but once I got on the second batch I got the brilliant idea to make a cacao (duh add chocolate) version. OHHHHH my goodness why haven’t I done this before? It came out of my Vitamix (frothy and hot) and honestly the best hot chocolate I’ve ever had. So simple. You control the level of sweetness versus the sugary commercial versions. I’m quite smitten with this version. Not overly chocolatey but just the right amount. Okay, okay… let me get this recipe started and oh HAPPY FRIDAY!
Ingredients:
1/2 cup of almonds
1/2 cup of walnuts
1/2 cup of cashews
1 tbl maple syrup or 1 pitted Medjool dat
1 tbl of raw cacao powder (you can add up to 2 for a more intense flavor)
1 tsp of ground cinnamon
1 pinch of salt (I used pink Himalayan)
3 cups of purified water
Method:
Soak your nuts in filtered water for 24 hours. Drain and rinse. Add the ingredients to your high powered blender and turn on the highest speed for 3 minutes. Be cautious, the centrifugal force will make the mixture HOT!

I used the Vitamix Ascent 3500.
Using cheesecloth or a nut bag (worse case scenario use a clean kitchen towel) and strain the milk through the towel into a bowl or funnel/glass jar your keeping the milk in. As you pour the milk, you will need to squeeze the milk through allowing the nut pulp to remain behind. Be very careful as the milk can be very hot (trust me). This process is a bit slow but worth it as your milk will be pulp free and creamy perfection. Store in a glass jar with a lid in the fridge for 5-6 days.
When the milk separates (thanks to no binders or stabilizers) just give it a good shake to blend before consuming. Enjoy!
![]()
I did enjoy this milk warm from the blender. It was so creamy and just like hot chocolate. In love.

Last Wednesday: Gym weight training session. 1h training.
Last Thursday: 5 miles
Last Friday: 6.01 miles
Last Saturday: 5 miles
Sunday: 3.26 miles
Monday: Gym for weight training and cardio
Tuesday: 7.17 miles
Wednesday: Weight training/cardio (55m each)
Thursday: 7.56 miles
Friday: This wraps up 10 days of working out! 6.75 miles on very tired legs.

— Knead to Cook
Robin have you seen the Almond Cow on kickstarter? I’m anxiously awaiting mine now – I’m pretty sure it will change my life! No more straining and your milk is ready in 30 seconds! Thanks for the recipe – looks delish:)
No I haven’t! I’ll be sure to research. This little recipe has been life changing to me. I warm it post run and enjoy it very much. ox